


Our family enjoys lots of different kinds of Christmas decorations (Santa, snowmen, gingerbread men, etc), but for the decorations I spend time making, I prefer decorations that focus on the Nativity. Last year at Christmas, I fell in love with this Nativity Painting that Dana from MADE showed as part of her holiday decor.

I emailed her for more details about how it had been made. It was indeed hand-painted, but her mother-in-law had bought it and then given it to Dana as a gift, so Dana didn't have any details about it. I looked for quite a while for a picture to copy, and just didn't find one I liked quite as well. I decided to go ahead and use the Unto You Pattern from Twin Stitchers.

I tried out the painting techniques and made one painting using that pattern which turned out pretty well.

And then before I started making the others, I decided to do a quick nativity search on Pinterest to see what Nativity projects were out there...and someone happened to pin the exact picture I was looking for. The resolution was high enough that I could read the artist's name (Tammy DeYoung), and was able to track down the website where you can buy the design. For $4.25, I was about to download the line drawing for this project (along with 22 other smaller line drawings. Click here for the Aimee Asher site where you can dowload this pattern.

Anyway, in the end, I didn't figure out how to capture the watercolor look of the original I saw on MADE...but I like the different effect that this one has just as much.
All year, I collected wide, but short frames when I saw them at yard sales or Goodwill. I spray painted them all black out in my garage. (Although since I ended up needing to mail these, I came up with a way of framing some of them myself with bias tape...I'll be sharing a tutorial for that in the next few days.)
Materials Needed: Printed pattern (available here) resized to fit your frame, muslin, fine tip fabric pen, an assortment of acrylic paints and paintbrushes, paper towel, muffin tin or an assortment of lids (something to mix your paints in), some cups of water, and a few hours to have fun.
I started my resizing my picture to fit the frames I had on hand. It ended up taking about three sheets of paper to print it out.

Once I was satisfied that I had the size right, I laid a piece of muslin over it. I also made sure to have plenty of extra muslin hanging off the edges to help when I needed to frame it later. The muslin is just thin enough that you should be able to see your pattern peeking through.

I used my favorite all around fabric pen (Fabric Ball and Brush Pigmented Double Ended Fabric Marker by Marvy Uchida.) I also found it helpful as I was tracing to have another printed version of the pattern handy to help distinguish the small details, so I didn't need to flip the fabric up (and move it around) to see what was underneath.

Once the whole design is traced, it's time for the fun part...painting!
I set things up with two cups of water (one for rinsing brushes and one for a clean water source.) Either a small muffin tin, or baby food jar lids (or any small lids would work...I just had baby food lids hanging out in the garage.
I didn't want to go buy a bunch of fabric paint when I already had a lot of regular acrylic craft paint on hand. I found the acrylic paint was a little too thick on it's own though, so I watered it down just a bit. You may want to practice with this a little before tackling a big design like this one to get the right consistency. You'll also find that some brands of paint are thicker and will need to be watered down more than others.
I started by putting a glob of glue on my jar lid.


When it was time for a new color, I found it worked best if I skipped around a little bit. I tried not to paint two figures right next to each other until the first one had mostly dried. The only time I had problems with colors running together was if the first one was still wet.

As I was painting, I was a little worried about the colors. I was almost finished, and the colors of the painting just hadn't really clicked for me...

But then as I got the flesh tones it, all of a sudden it looked a lot better...

I added the pink cheeks at the same time as painting the faces. I generally found it worked best to only water down the pink for the cheeks a tiny bit (and the pink I used was pretty thick...if your pink is thinner you might not need to water it down at all.) I found if I painted the face and let it dry for a few minutes but not completely (like while I went and painted a couple other faces), that the pink paint spread just enough to make the cheeks glow a tiny bit, but without spreading too far.


I also found if I got too much pink paint on, or it was a tad too thick, I could dab it off pretty well with a napkin or paper towel and try again.

The pink cheeks also seemed to mellow a bit as it dried.
And it looks even better when you have the last details in. for the white stitching on Mary and the gold stitching and details on the wise men, I used a very fine brush and tried to just use the very tip of it. I also used the fine brush to add the accent hair on the animals. I also DID NOT water down the paint at all that I used in the details.


Then the final step, once the whole thing has completely dried is to take your fabric pen, and go over the lines one more time. It really makes the whole piece POP and look like a work of art.

Here's a closer look at some of the details...


And it will be ready for framing...

I ended up making 6 nativity paintings as gifts. Each one ended up a little different, as I experimented or
At one point, I accidentally painted one of the drummer boys purple. I wanted to save the purple for the wise men, so I decided to try covering it up. It worked...because it was a light purple and I used a darker color, so it is possible to cover small mistakes.

I especially had fun changing up the wise man's treasure chest in different versions. (And both of those are the same color red...not sure why the color turned out a little funny in the top one.)


For that part, I played around with some fonts on the computer until I found one that felt right. We ended up using Jellyka Western Princess font. Then I used the marker end of my fabric pen and just carefully traced over it. I found it worked best if I did the edges of the letters little by little, and then filled it in...and I kinda held my breath the whole way, hoping I didn't mess the letters up.


And it makes me happy every time I see it on my mantel...

I don't have a tutorial for the Nativity Stockings, but if you'd like to know a little more about them, I talk about them here...
And if you're interested in Nativity Projects, you also might like these Nativity Blocks I made a couple years ago.

Please show my sponsors some love...
ELF OWL, 8x10 - From NJoyArt | Fat Quarter Bundle of Joy - From Sisters and Quilters | The True Reason for the Season - Art Print from Prints of Peace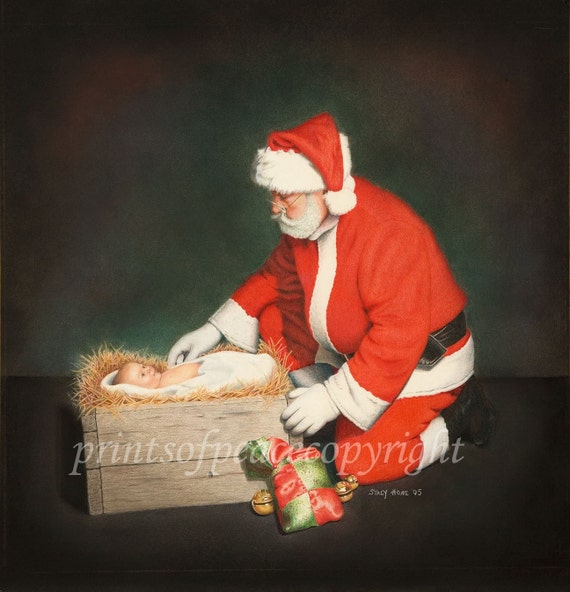 |
I love, love, love this! I think I might just have to give it a try.
ReplyDeleteI was really curious about how you did the lettering - thank you for including that information. I want to try this on a big scale - painted on a piece of plywood - for a neighborhood "Christmas card" for the front yard.
ReplyDeleteOh, Polly, these are wonderful. Nice job!!
ReplyDeleteLove your painting. Thanks for sharing so many details. :-)
ReplyDeletePolly thank you so much for linking up to my slacker party :) I can not believe I forgot to post. Christmas is crazy.
ReplyDeleteThis is so cute. I'm pinning for next year!
ReplyDeletethis turned out beautiful. would make a wonderful gift for my grown chidrens homes...if I start now maybe I can get them done for next year...Pat Olson tole painting has a similar pattern.
ReplyDeleteWow. you did it! how cool! So did you hand-draw the image? nice job!
ReplyDeleteLOVE this!
ReplyDeleteSo pretty. I am sure this was terribly time consuming. But, it was worth it! It is wonderful!
ReplyDeleteI love those ideas! The paintings look great and the blocks are a fun idea too! You are just too stinkin' crafty! Must be fun. :D
ReplyDelete