So I know it happens to all of us...we click on a promising sounding title or link and get to the blog and it's a less than brilliant idea. You may be having one of these moments right now...but this was free, took about 5 minutes, and Firecracker LOVES it!
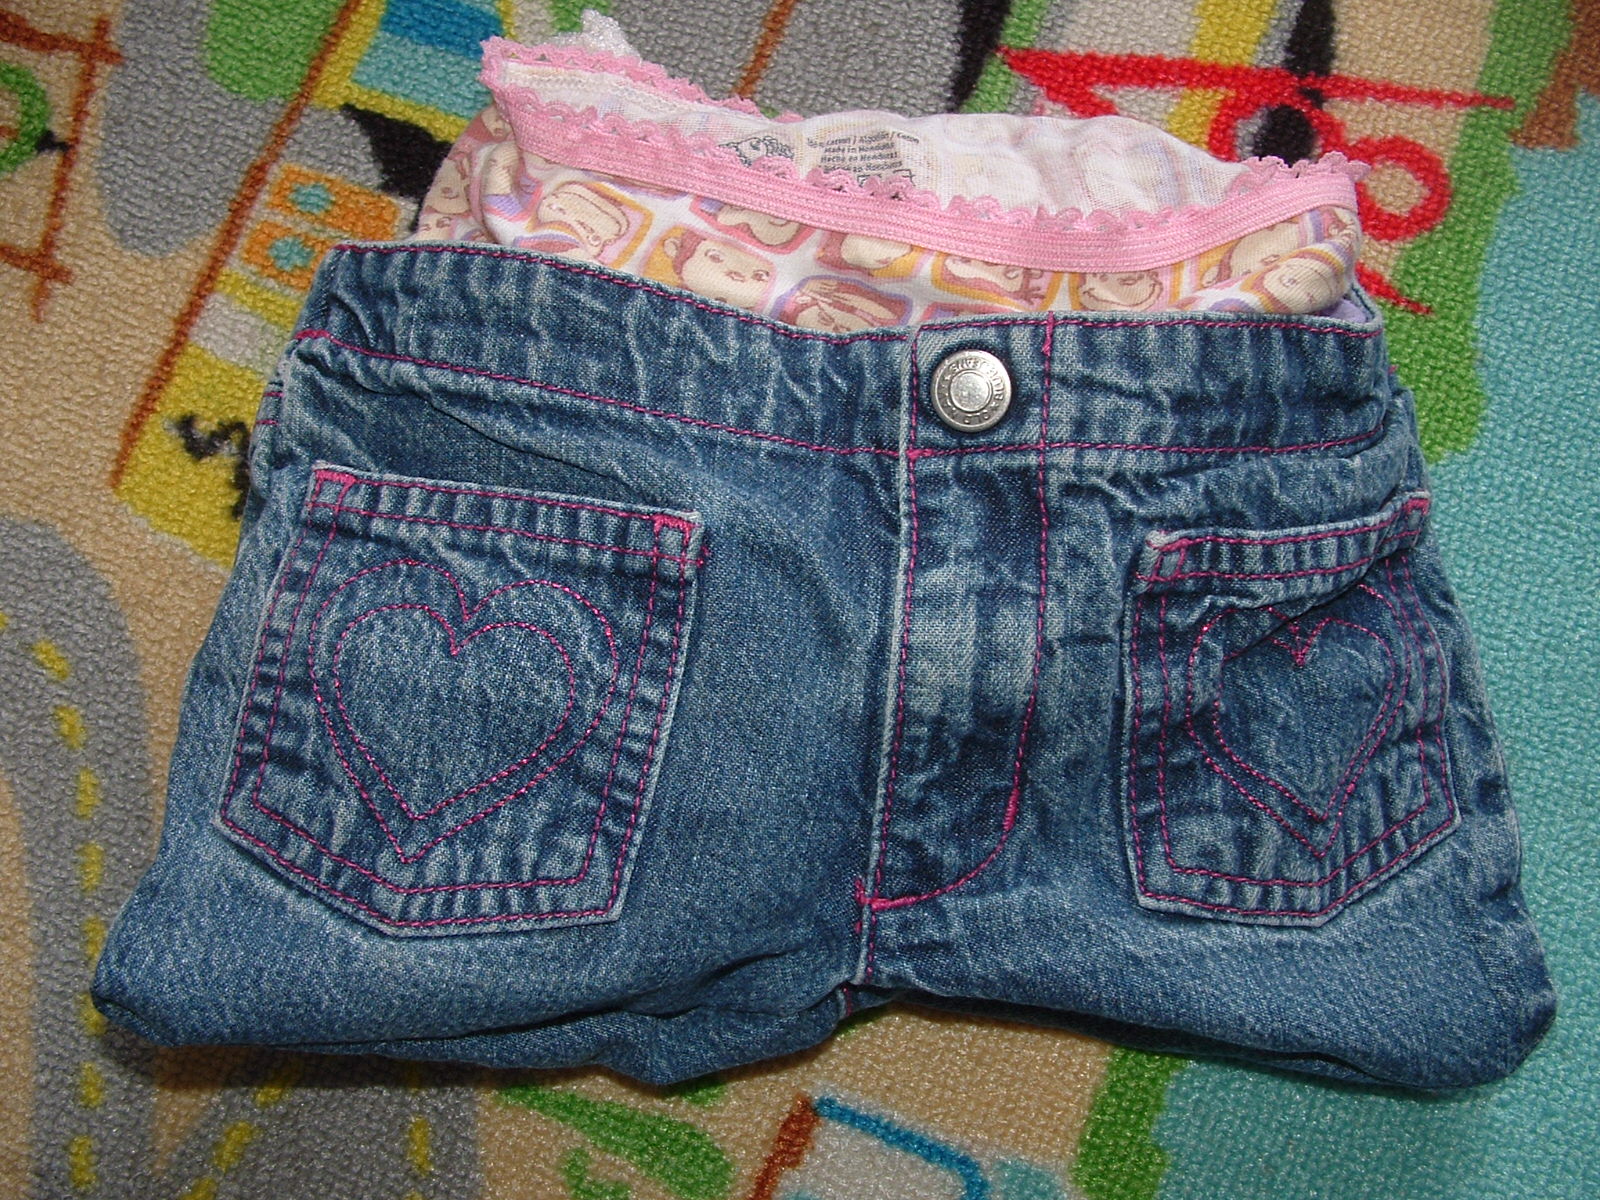
We got these cute jeans as hand-me-downs for Firecracker. Don't you love the little hearts on the pockets?!
Well, sometimes looks are deceiving. The problem with these is that that they are shaped a bit wrong and the elastic was worn out, so they would NEVER stay up. I didn't get around to adding new elastic in them and they ended up in the hand-me-down trade for my niece. When I saw her wearing them, they were falling off her too, so when they came back to our house, I thought, "ENOUGH!" I could have added new elastic, but they're too small for Firecracker and Sweet Pea won't fit in them for a couple more years. So this is what I did with them...
Started by sewing a seam to seal off the legs.
I had to sew a bit of another to also seal off the inner-leg part because it was a funny shape.
Then turn it right side out and put the underwear in.
Then tuck it in your daughter's dresser drawer next to the shoe box with her socks.
Several days later...it's still keeping her underwear in one place in her drawer...SUCCESS! Boy has a pair of pants that could use a similar treatment...
Do you have your own Hand-Me-Down REHAB or other frugal project to share?
Grab a button for your blog post or sidebar and link up!
I'll be highlighting more projects soon! And the left over denim from making these just might turn into some super sweet knee patches...and some of them might be part of my very first giveaway...
I'm linking to: