Showing posts with label Archive Appreciation. Show all posts

Friday, December 31, 2010

Helping Little Hands in 2010

I love the "Best of" posts that pop up around the new year when my favorite bloggers repost their best stuff...just as a reminder or in case I missed it the first time. 

Very Hungry Caterpillar Outfit and Cupcake Cake
My most popular post of the year was Sweet Pea's Very Hungry Caterpillar Skirt that I made for her first birthday in March.  Since she's on the small side she can still wear the outfit, although the shirt is getting a little small.  You can find the caterpillar applique here, the cupcake shirt applique here, the tutorial for the upcycling the skirt from a pair of jeans here, and the Very Hungry Caterpillar cupcake cake here.

Thursday, November 18, 2010

Thanksgiving Ideas

I thought I'd link to some of the things we did for Thanksgiving last year since I was new to blogging then and a lot of my current readers probably missed them.  Sorry the pics aren't the best...these were taken with our old camera before it died.

Turkey Rolls!  Our rolls have always been pretty delicious thanks to my good friend Patti's recipe.  You can find the recipe and directions by following the link.

Here's an idea for making Turkey cards by stamping your child's hand.  You've probably seen them all over the internet lately.  (The best examples were mailed out and this was the one left to take a picture of...sorry. )

The Ugly Pumpkin Book and Activity.  We're planning to read this again this year with a different activity...but in case I don't get around to posting it, here's a fun took to read and super easy felt activity to go with it.


And of course you'll want to check out the Leaf-Turkey Shirts I posted about yesterday.

Monday, August 30, 2010

Pick Me! Pick Me!

In the spirit of a little August Archiving...Remeber this fun project?  (One of the easiest and cheapest baby toys ever.)
Well, I entered it in the Iron Crafter Competition on Fireflies and Jellybeans, and


So click on over and vote for me!  Or you can vote for someone else if you want to...because honestly there are several  projects that are way cooler than mine and deserve to win too.
I've got another Archive Highlight for you from Ms Muffin of Muffins and More!  I'm always so impressed with people who don't have a lot of background in sewing, but are brave enough to just jump right in and teach themselves.  I can't believe this was her first sewing project!  It turned out so awesome!  You'll love her blog.

Hello!

My name is Ms Muffin and my blog is called Muffins and more. I do love making muffins - but on my blog you will find alot more. You're welcome to come over and check it out!
I love creating things and that is what I write about. I love to sew, crochet, knit, craft, do kids' projects, bake, decorate ... I just wish I would have more time to try all the things that make my fingers tickle! :-)

I started my blog actually as a collection of all my crafty adventures. I am a bit chaotic and always start many projects at the same time which regularly ended up being confusing. So I figured if I document my projects on a blog that might help. It did. But not just did it help me to at least get a bit of order into my crafting. I also stepped into a great world of creativity and sharing and supportiveness - I had no idea that something like this exists! I have met so many great people through their blogs, I got so much great inspiration and I even have made friends! So blogging naturally is much more to me today than just documenting my crafts - it's about that great creative community out there that I love to be part of.
It is so much fun with you guys!

When Polly asked me whether I wanted to participate in Archive Appreciation month I was totally thrilled! It was really hard though to pick a post that I would like to be highlighted. I finally decided on a post I wrote about the first dress I ever sewed. Well, the first thing I sewed at all to be completely honest. I did not choose a pen roll or a small pouch or something like that as my first project - no, I chose a dress for my daughter that I had seen and fallen in love with.


In the post you can see more photos of the finished dress but I also talk about a couple things I learned from sewing that first piece. I actually still learn ALOT everytime I sew something. Maybe that is encouraging to other sewing beginners - everytime you sew you practise and/ or learn something. Even if you make mistakes.
So even if it might be furstrating sometimes - KEEP ON SEWING!

And if you guys have tips for me or other beginning sewers it would be great to hear them! :-)

Friday, August 27, 2010

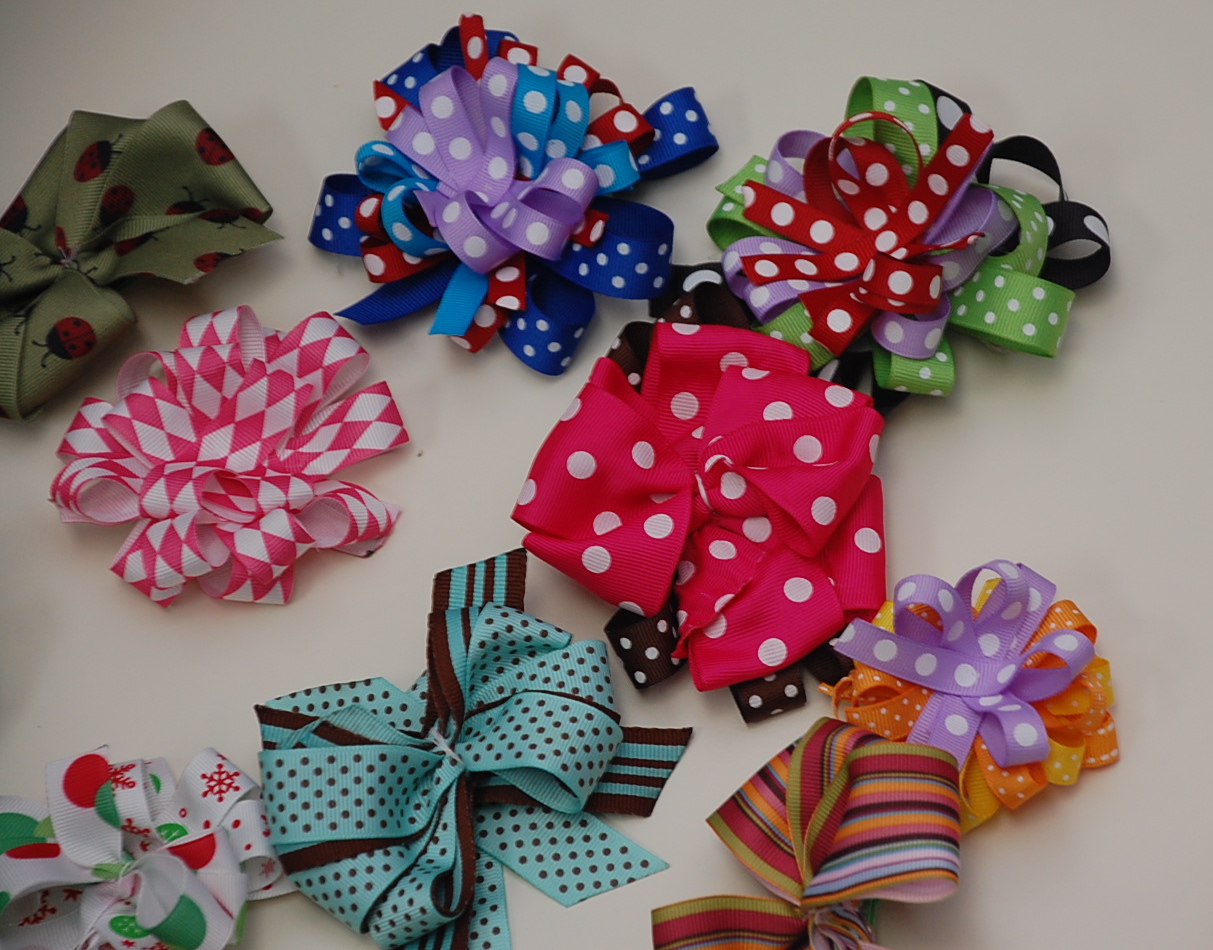
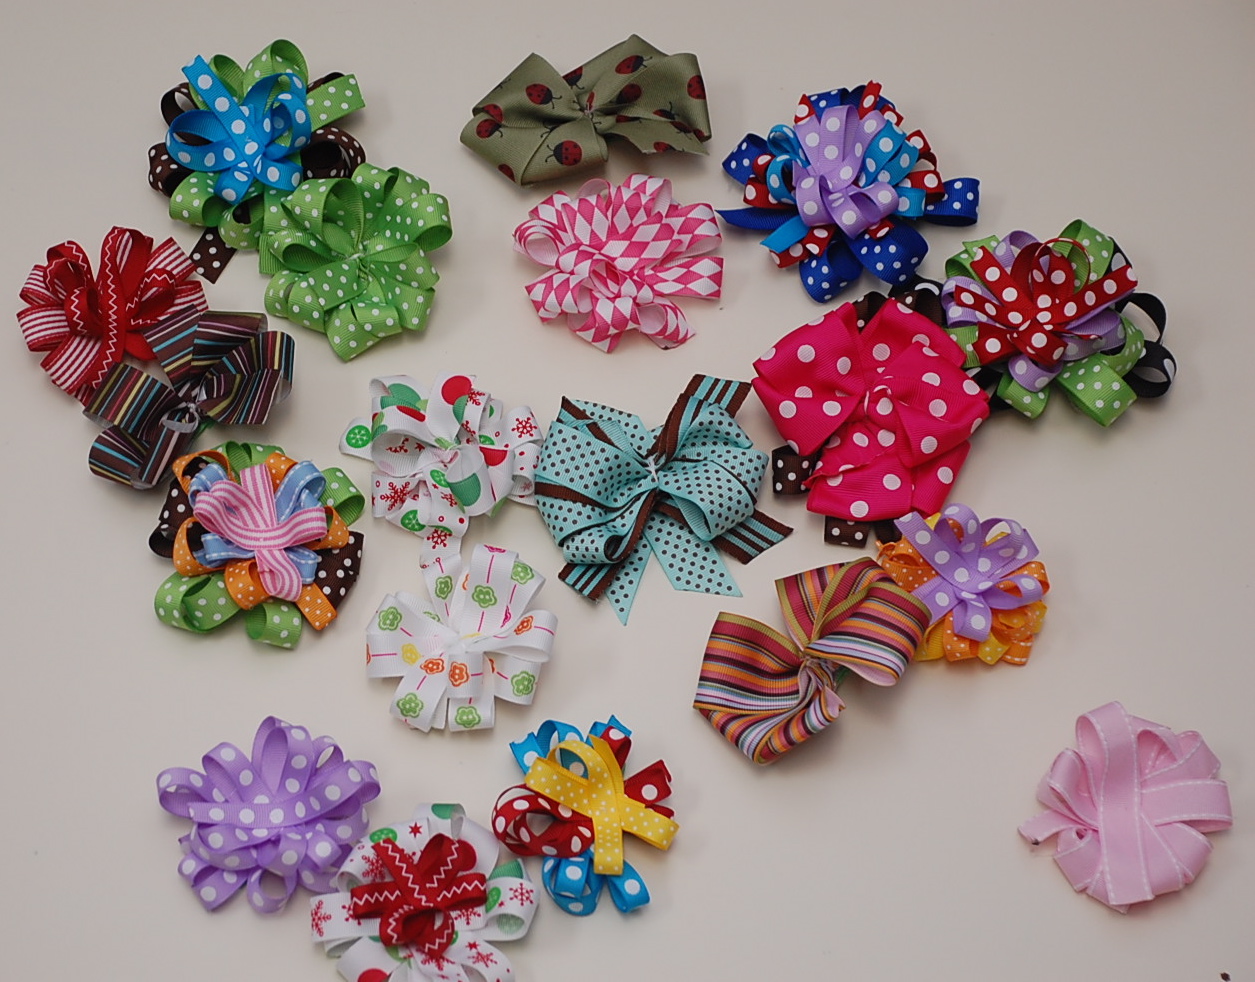
How to: Hair Bows from Little Lizard King


Okay, I had great intentions with and August Archive Appreciation Month...and now it's almost the end of August and I'm just getting the first post up!  We were without internet for longer than I thought we'd be and we've been enjoying our new town so much and getting to now people and getting Hubby ready for school that I haven't been doing much blogging...but now I'm going to get all those posts up that my wonderful friends have sent me.  Little Lizard King was the very first to send me something from her archives.  She sent the whole tutorial (but all you need to do if you want me to highlight your idea is include an intro and the link.)  If you have checked out Little Lizard King, you really should.  She's got some amazing stuff.  One of these days I'm going to order her pinafore pattern.

So here she is...

Hi, I'm the Little Lizard King, and I'm into sewing patterns and DIY crafty things.
For those of you who like to sew, check out my shop that's stocked with tutorials and instructions to teach you to make boutique products without boutique prices. 
Here is a sampling of the items you could make using Little Lizard King patterns. 
  
Now, onto the tutorial. 
Here's a quick how-to-hair bow.
Supplies needed:
  • Needle
  • Thread
  • Ribbon
  • Alligator Clips
  • Hot Glue and Glue Gun
  • At least 1 cute little girl
Thread a needle.
 Take some ribbon.
Create one loop with the ribbon.
Make a second, equally sized loop. My two loops are about 5" across. There is not a right or wrong size regarding the length of your hair bow. Pinch the ribbon in the center. Do not let go.
Repeat. You should now have two layers of ribbon per loop.
For a different effect, create three loops.
Push the needle through the center point of the ribbon.
 With the needle poking through the ribbon, spread out the loops of ribbon to create an X.
 Push the needle entirely through the ribbon. Do not let go of the ribbon.
 Pull the needle through the other side.
Repeat. Push the needle back through one side of the ribbon.
 Pull the needle out the other side. 
This is an optional step. Loop the thread around your ribbon two times.
 Pull the thread tightly to pinch the ribbon in the center. If you do not want a pinched center, do not complete this step. I typically do not complete this step if I am creating layered hair bows. Wrap the thread around the pinched center two or three times.
Regardless of whether you pinched the center of the ribbon or not, push your needle through one side of the ribbon, and pull it back through the other side.
 Do this two times.
 Cut your thread. If you stop here, it looks nice to glue a small 2-3" long piece of 1/4" wide ribbon around the pinched center. 
 If you want to layer your hair bow, repeat the aforementioned steps.
 Arrange one bow on top of the other according to your preference.
 Glue the two bows together with a hot glue gun. 
 Repeat with other types, sizes, and colors of ribbon.
 Add embellishment, if you desire.
 Use a lighter to heat seal the ends of each raw edge of the ribbon. This prevents the ribbon from fraying.
 I'm not loving this green bow. It looks odd. I was in a hurry.
 Cut a piece of ribbon approximately 7-8" long.
  
Add a strip of hot glue down the center of the entire ribbon.
Beauty supply stores sell 100 alligator clips for around $5. You can also buy them on Ebay and probably Etsy. It is shocking how fast you fly through 100 alligator clips. It's insane. Buy more than one pack. 
Place an alligator clip on your ribbon. 
Wrap the alligator clip with the ribbon.
Glue your hair bow on top of the alligator clip.
 Wahlah!
Now, be creative. Combine colors, sizes, and prints of varying ribbon for cute, coordinating, and creative hair bows. 
Before you know it, you'll be swimming in hair bows.
My former color guard cousin loaded us up on ribbon over Christmas, and I'm finally putting it to good use.  Thanks, KK.
Enjoy,
Little Lizard King