We've had a lot of weddings to go to lately, and I wanted to think of something a little fun and different...
...and something I could make quickly and inexpensively.
I love having fun quilted hot pads to double for an interesting centerpiece and be ready on the table for protecting it from hot pans.
And it's nice to be able to flip them over and have something a little more traditional.
I've been
So as long as I was making the wedding gifts, I made a few larger ones for us.
If you've read my blog for a while (as in a couple years), you might remember that I like to find red accents. I'd used some of this tulip fabric for a covered storage can and just love it.
I knew I wanted larger ones to fit under a casserole dish, but after talking to a few friends, it was decided most people would prefer square ones.
What do you think? Which one would you most want? There are a couple you could take home listed here in my shop.
They're really easy, so I thought I'd give you a quick run-down for how they are made.
Supplies
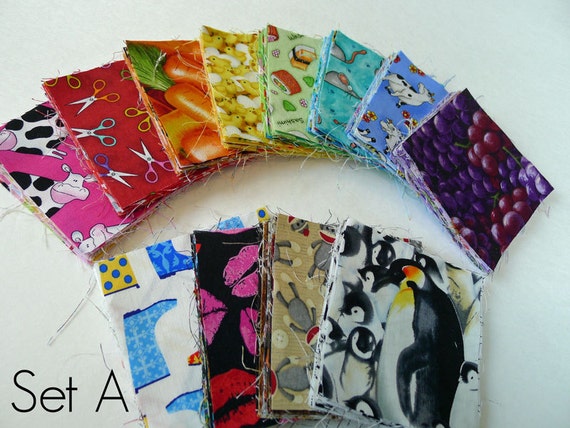
- You'll need 9 (or more) 4" squares with different food fabric. (I've listed a couple extra sets in my Etsy Shop here if you don't want to run out and get that many different fabrics.)
- 1/3 yard of backing fabric, fat quarter, or 12x12" scrap
- COTTON batting...I used two layers. You don't want to use anything with polyester or anything else that will melt with the heat.
- All the other typical sewing stuff...
I start by sewing my squares together to make a nine patch.
Then trim two pieces of batting and one piece of my accent fabric to make a quilt sandwich. You'll want the two layers of batting first, then your accent fabric RIGHT SIDE UP and your nine patch RIGHT SIDE DOWN.
Sew around the edge with a 1/4 inch seam allowance. Leave the width of about one square open for turning.
Trim your corners. (This will make them look more square when you turn it right side out.)
Turn your hot pad right side out.
It will look a little wonky and poofy, so the next step is to...
Press and pin.
Slip stitch your opening closed.
Top stitch 1/4 inch from your edge, all the way around.
I also like the criss-crossing look of top stitching 1/4 inch on each side of all the nine-patch seams. I just went over some of the stitching spots twice, so that I was able to do all the top stitching in one continuous seam.
And that's it. You've got an endlessly customizable hot pad or centerpiece.
If you love these, but don't want to go to the trouble of making one, I've got a the yellow and turquoise ones listed in my shop (at least until the next time I need a wedding gift).
Please show my sponsors some love...


Those are fabulous. I am always attracted to the food prints, but haven't found a good project for them - until now. Thanks for the idea!
ReplyDeleteI love the food fabric! It's so cute and so perfect for this craft. Thanks for sharing!
ReplyDeleteI love the food fabric! It's so cute and so perfect for this craft. Thanks for sharing!
ReplyDeleteI like both sizes! When we have a crowd at the Holidays, there are lots of 'hot' dishes in all sizes! Have you ever used insulbrite in these?
ReplyDeleteVery sweet. I went a little crazy a couple of months ago and bought a substantial amount of fat quarters in food fabric -- just waiting for the next I-spy swap (-:
ReplyDeleteThanks for the tutorial. I look at all those wonderful food fabrics and just ask myself what I would make with them. Since I never seem to get a good answer, I move on by. These would make wonderful housewarming gifts and hostess gifts! Thanks for the ideas and the sharing!
ReplyDeleteI LOVE these. Those fabrics are awesome. I'd been looking at some of those exact fabrics a few weeks ago and have been thinking I might like to get some. Funny thing is awhile back when seeing them for the first time, I really wasn't too excited about them but recently I changed my mind totally and your post today has definitely changed my mind for sure.
ReplyDeletewhat fun fabrics!
ReplyDelete