

One of my favorite things about working with Fairfield is that I've been able to supply my kids' elementary school with fun pillows and cushions to make their classes more comfortable. (Note: Fairfield donated some of the supplies and compensated me for writing this post, but all ideas, opinions are my own.)


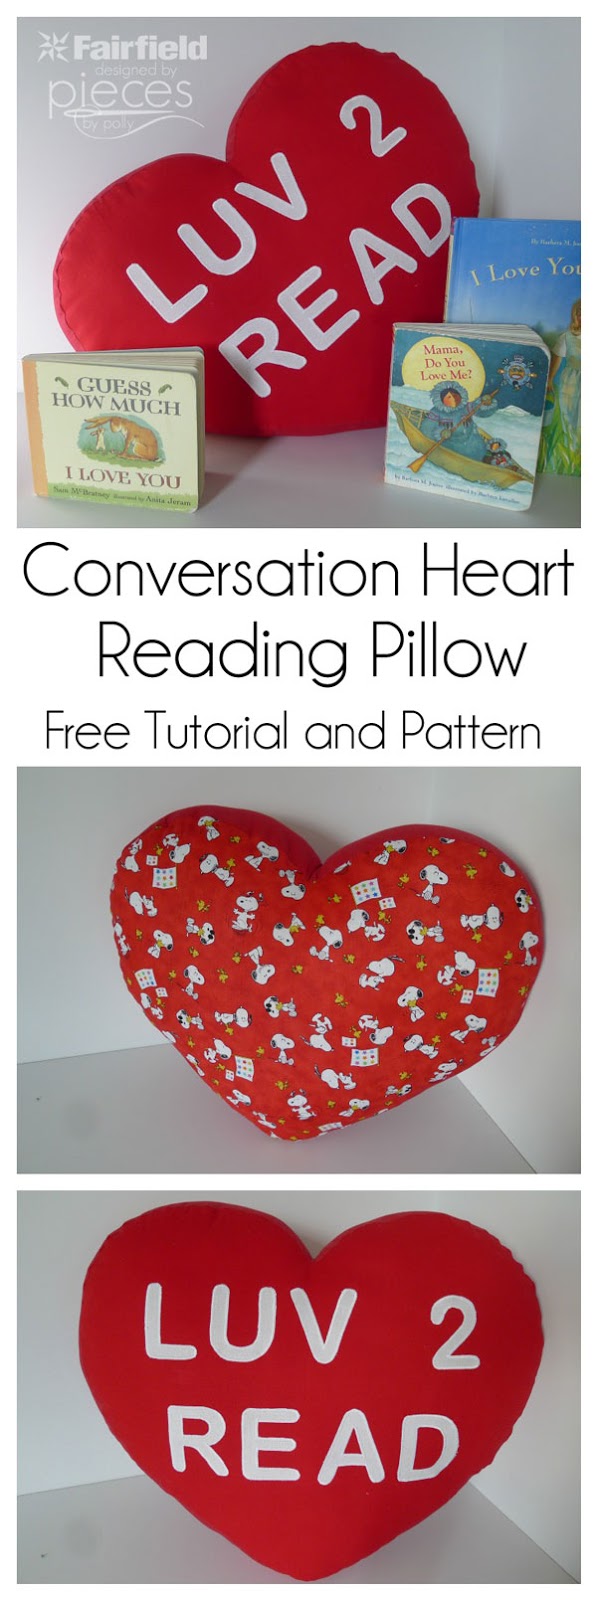
It's especially fun when we can combine comfortable with encouraging learning, which definitely describes this pillow which is now at home in her 4th grade teacher's reading corner.

I've got my oldest daughter well-trained...she keeps her ear out for hints about what her teachers might like for their classroom. She told me a while ago that her reading and math teacher really loves the Peanuts, especially Snoopy. Can you tell from the bulletin board?

Then Katie came home and said her teacher wished she had more Valentine's decorations and I knew the Red Snoopy Fabric would be perfect for a Valentine's pillow.

And the pillow was surprisingly easy to put together, so I thought I'd include a tutorial and pattern.
Skill Level: Late Beginner or Intermediate

Materials:
- 1 - Red Fat Quarter for the front (I used Kona Cotton)
- 1 - Matching Fat Quarter for the back (I used Red Snoopy and Woodstock from Quilting Treasures)
- 1/4 yard Red Fabric for the sides
- OR IF you want the whole pillow from the same fabric, you'll need 3/4 yard of fabric.
- 1/8 yard white fabric or white scraps (I used scraps of Kona Cotton in White.)
- 1/4 yard paper backed fusible web
- Plenty of Poly-Fil Premium Stuffing Fiber
- 1/4 yard Stablize Interlining by Fairfield (not pictured.)
- Sewing machine, thread, scissors, pins, and other basic sewing supplies
- Heart Template Piece A
- Heart Template Piece B
- Heart Template Piece C.
- Letters Template
Start by downloading, printing, and taping together the heart template.
Cut out 2 Hearts from your fabric. I cut out one from the Snoopy Fabric, and one from my solid red.

From your solid red, cut out strips 4 1/2 inches wide. We need one strip that is approximately 65 inches long. Since fabric comes 40-42 inches wide, you'll need one to piece at least two strips together. If you're working with a fat quarter for this part, you'll need to piece together 3+ strips. Iron any seams that are part of this strip open.

To have your strip ready for your pillow, you'll also need to fold one end under 1/2 an inch and iron.

When using paper-backed fusible web, everything has to be printed in reverse. So if you choose to do a different message, make sure to reverse it. It can be tricky to figure that part out on your computer, so one trick is to print it out regular, and then trace it through to the back of the paper and use the back as your template. I used Arial Rounded as my font.

Trace your reversed letters onto the paper-backed fusible web. Iron onto your white fabric.

Cut out your letters.

Peel off the paper backing.

Arrange on the front piece of your pillow. I found a quilting ruler really helpful in getting them straight.

Iron securely until all the edges are sealed.

You may want to use a stabilizer on the back such as Stabilize from Fairfield. It will help your applique have a more polished finish and prevent puckering or waves in your applique. The Stabilize goes on the back side of your pillow front, so there's no need to cut it in a particularly pretty way.

Stitch around your letters with a tight satin or zigzag stitch.

Don't backstitch at the ends. Instead pull thread tails through to the back and tie a knot.

Now we're ready to construct our pillow. Start at the straightest part of your pillow and begin pinning your side strip to the front of the pillow. The best way to deal with curves is to pin A LOT. I used a pin about once every inch, with more at the top and bottom points of the heart.

Take special care at the top of the heart, so you don't end up with puckers.

Your side strip will be a little long. When you get back to where you started, trim so that you have an EXTRA HALF INCH.


Iron that half in under.

Now we can move to the sewing machine. I sewed this with 1/4 inch seam to help keep the curves smooth.


When you're finished clip the seam allowance at the top corner. This is VERY IMPORTANT so that your finished pillow doesn't look oddly puckered. You also need to be very careful not to snip your thread.

Repeat the pinning process, pinning the side strip to the back of your pillow. Take special care to the top and bottom points first, so that they are sure to match the front. Then continue pinning the rest of the heart.

Make sure the two ends of your side strip, are just barely touching.

Stitch all the way around your heart with a 1/4 inch seam.

Again, be SURE TO CLIP the seam allowance at the top of the heart. Some people would recommend clipping the seam allowance all the way around the pillow. Since this pillow is going to be getting a lot of use from children, and the seam allowance is already narrow, I didn't want to risk compromising it further, and the pillow is large enough, that I didn't feel like more clipping was necessary.

Turn your heart right side out.
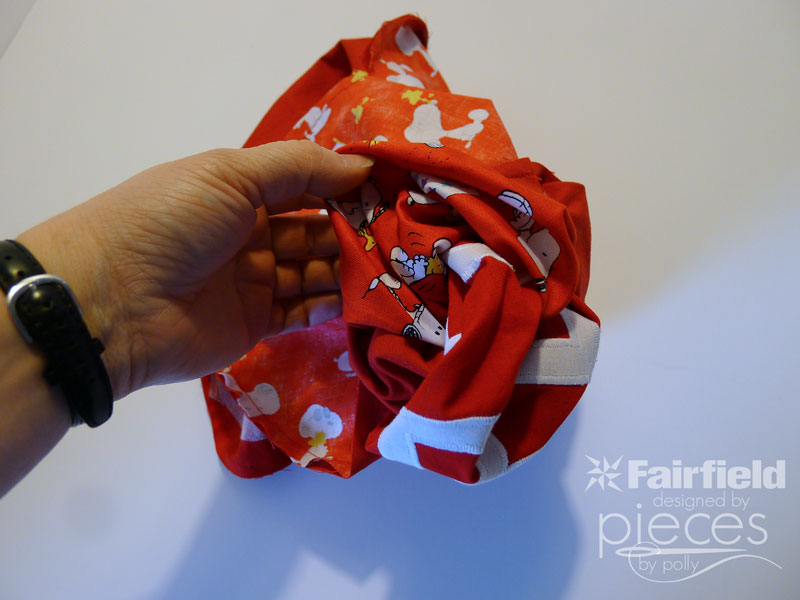

Now start adding stuffing. I'd originally been thinking I would keep the pillow flatter, to look more like the candy hearts, but ultimately, I decided to keep adding stuffing and went for over stuffed, in part to make sure it holds up to a classroom of 4th graders.


When your pillow is comfortable bulging, use a needle and thread to do a slip stitch and sew the opening closed.

Then find your favorite reading corner and open up a good book.


This is super cute, Polly. I'll bet the kids are loving that reading corner!
ReplyDelete