

Andie's favorite color is yellow and she loves dogs. I stopped at a garage sale and found this shirt. I thought it was funny and bought it, but was a little dense since I didn't realize until I got home that it was PERFECT for this project!

Perfect bag for someone who likes to collect little things and needs her own place to put them.

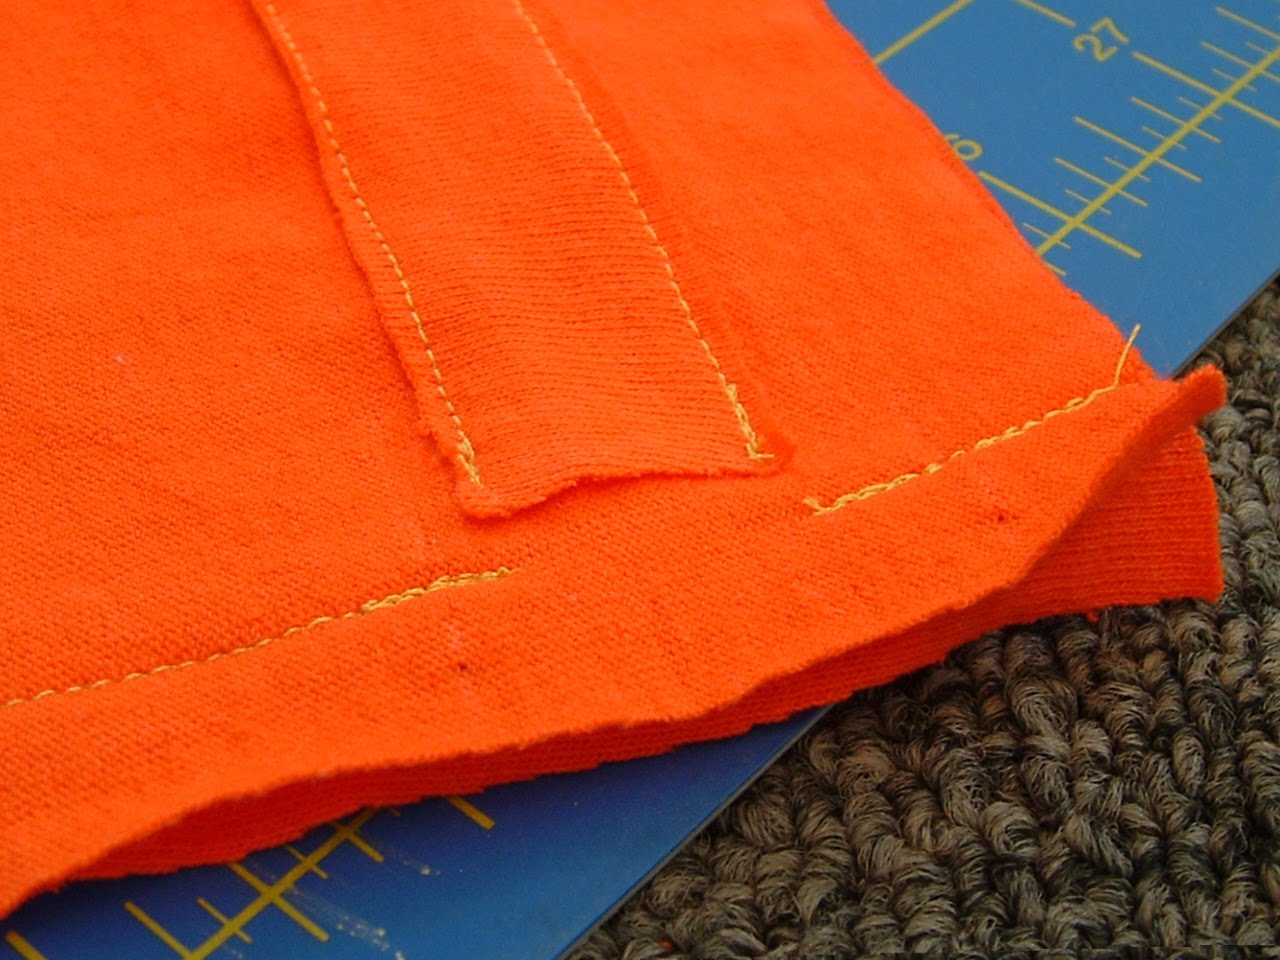
Cut a strip to hold the string. You want it to be about an inch shorter on each end than the width of the bag. I did this from a T-shirt and it's an informal bag, so I didn't worry about folding edges under. Pin it down first and sew. Sto

Then I sewed the side seams.
To finish the top edge of the bag, I used a ruffle/lettuce hem, like I did here.
I made my strip go a little too far. I should have been about a half inch shorter, so I fixed it by cutting it back a bit, like you can see here.

Trim the corners, but not too close, since this is a bag that will have some pressure on the bottom seam.

I also added a little pocket made from some scraps to hold her I-Pod at the top, so it wouldn't get squished in the bottom. (I had to sew it over the side seam, so it wouldn't mess up her name or the dogs on the other side.)

Then measure some string to be twice as wide as the bag, plus some extra for tying the ends together, plus about 1 more inch.

You don't have to add anything to the ends, but I thought it would be fun to add some stamped washers and some dog buttons.


Thread the string through the tubes.

The threads won't show much when the bag is open, but then you pull the strings to sinch it closed.

In the end, I'm told Andie was thrilled with the bag, that it had her name spelled right and that it had her favorite color and the dogs.
And as long as I'm on the subject of stamped washers...
Check out all my posts with stamped washer projects.
Zipper Pull Tab | Grandpa Keychain | Dad Keychain |
Grad Keychain | Washer Earrings | T-shirt Bag Tags |
How to Stamp a Heart | Washer Necklaces | Backpack Tags |
Order Custom Stamped Washers from my Shop |
That was so sweet of you! I'm sure she loved it and felt loved.
ReplyDeleteVery cute! I'm sure it was very appreciated. As a former foster parent I can attest just how special it is for foster children to have something to call their own. Job well done!
ReplyDeleteI love the idea of making bags from t-shirts. So quick and easy!
ReplyDeleteHi, I love you blog and I just linked your buttom at mine!
ReplyDeleteCome to see it! www.marianepro.blogspot.com