

This post is Lesson 6 from my Hexies by Halves Quilt-Along. I hosted the quilt-along in large part to have a large number of people test my pattern and the full Hexies by Halves PDF Pattern is now available here in my Etsy Shop. I removed most of the Quilt-Along posts, but have chosen to leave this post up because it is applicable to any quilt and it will give you a sample of the quality of my pattern pictures and instructions.
Supplies needed:
1/3 yard (12 inches) of fabric for binding
1 inch Bias Tape Maker (optional)
iron and ironing board
pins, thread, sewing machine, scissors, etc.
You'll need 1/3 yard (12 inches) of fabric for binding. A 1 inch bias tape maker is optional. I also like to make my own binding because it's so much cheaper and you can really customize your binding to match your quilt. Bais tape makers are usually $5-7 and make the ironing a lot easier, but you can also do the ironing without one.

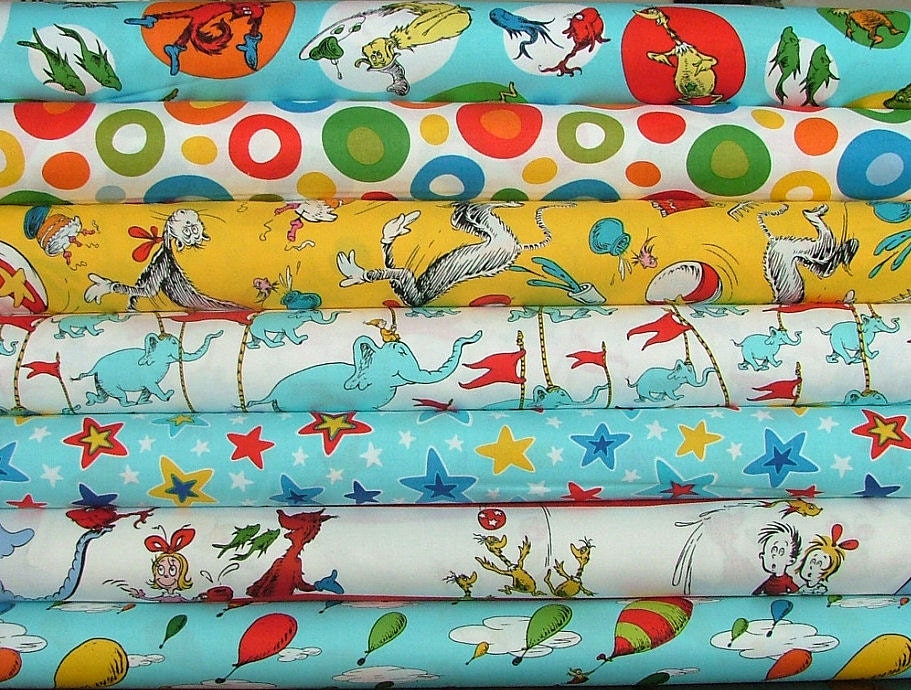
For fabric, you can use any of your prints from your quilt or something different entirely. Lately I tend toward using high quality solids for the bindings, especially if this is a quilt that is going to get a lot of use by children. Now that my kids are old enough for wear and tear to start to show in their quilts...it's the binding that always seems to go first. So if you're not using one of your prints as the binding, then I recommend Kona solids or Bella solids since they come in so many colors and are high quality.
Just as with almost everything about quilting...there is more than one way to do the binding, so I'm going to show you the method that I use most often. We'll be using binding tape that we make ourselves.
We're going to start by cutting 6 strips that are each 2 inches wide and 44 inches (or however wide your fabric is) long. By now you should be pretty good at cutting these strips. (Some people prefer to use binding cut on a bias, meaning it's been cut at a 45 degree angle from the grain of the fabric. This gives the bias tape more stretch for going around curves. However, since the edges of our quilt are straight though, I find it's easier and uses less fabric to cut strips straight across our fabric.


Next, we're going to sew these end to end, to make one long strip. You can sew them end to end with a straight seam across the end, but I prefer to line my strips up at a 90 degree angle to each other (right sides together).


Then trim off any extra seam allowance.

So now you should have a long strip of binding fabric.

Next we're going to use our bias tape maker. You may need to trim the selvage off the end, so you can feed the fabric through.


Pull the fabric through enough to get a grip on it.


If you're not using a bias tape maker, then by hand, you'll need to fold each edge of your binding into the middle and iron.
Now we're ready to begin sewing the binding to our quilt. I usually start by going along the edges and trimming off any stray threads.


Stop sewing when you get to the edge of your quilt.

Trim even with the edge of your quilt.

Repeat for two opposite sides of the quilt.

Now we're going to turn out quilt over and work from the back. This next step is optional, but I like to trim just a very small amount from the seam allowance. About 1/8 of an inch or less. (If you trim too much, your binding will be too thin.)


I like to place my pins about every 2 inches or so.

Now we're going to turn out quilt back over to the front to sew the binding. We are going to sew "in the ditch." Meaning we're going to sew as close as we can to the initial seam line we made starting the binding. (Some people prefer to hand sew the back of the binding on so that none of the stitches show. This does give the quilt a slightly more polished look...but I don't find that it adds enough to the quilt to be worth the extra work of hand sewing.)


If any bits of the binding are hanging off the ends, you'll want to take a moment now to trim them straight.

Now we'll sew the binding on the other two sides of the quilt the same way, with just a couple changes. As we begin to sew our binding, we'll unfold our binding and fold the end over itself by 1/2 inch at the leading end. You may want to pin it. The fold should be lined up with the edge of the quilt.

Then after you have sewn the binding, you will trim it 1/2 longer than the quilt.

Fold it over 1/2 an inch so the fold is lined up with the edge of the quilt, and sew.

As you wrap the binding around to the back, it will take a bit of extra care to fold and tuck the ends in.


Thoroughly pin and sew by stitching "in the ditch" as we did for the first two edges.
You may choose to close up the small openings with a needle and thread, but the binding should be tucked in enough at this point that it's not totally necessary.
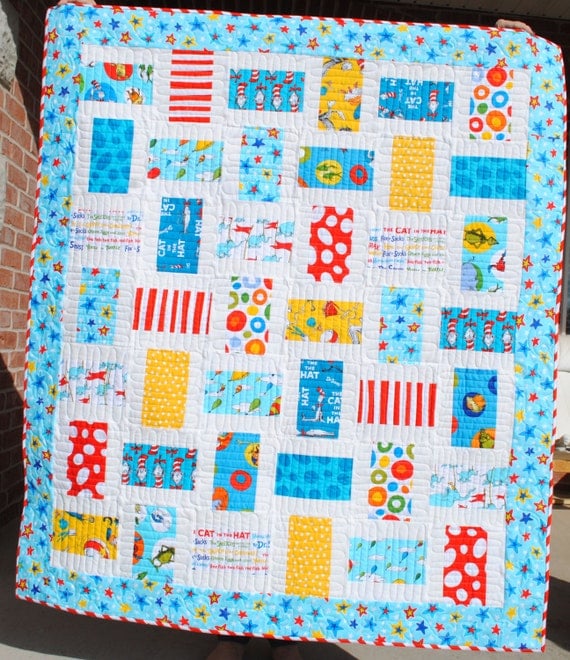
And with that, you're done! WOW! You must made a quilt! Now pat yourself on the back and show it off to your family and friends.


And take some fun pictures of it to share. This really deserves a post of it's own...but just a few tips I've picked up about photographing quilts from experience and things I've read around the web...
- Use as much natural light as possible. I photograph most of my quilts outside.
- In slight shade is best. Full sun is second best. You really want to avoid somewhere that has some shade and some sun on the quilt (sometimes happens under a tree) because it will make your quilt look like it has spots.
- Get creative about fun back drops. My yard is still a big work in progress...so I've gotten friendly with my neighbors. My favorite photo shops are one neighbor's back yard and porch, and another neighbor's front porch.
- Think about using props and/or babies. I've used Dr. Seuss books with a Dr. Seuss quilt, etc, and I like to use my kids in the photos too.
If you'd like to review the other lessons, you can find them here:
 |  |  |
 |  |  |
Please show my sponsors some love...


Oh, dear...I am so behind...
ReplyDeleteAwesome! I take mine to the quilter tomorrow. This was so fun. Thanks Polly!
ReplyDelete