Monday, April 27, 2015

Rainbow Dot-to-Dot Birthday Party Ideas

If you want to throw a Rainbow Dot-to-Dot Balloon Party, you've come to the right place.  I've got lots of easy ideas to share with you today.  (Disclaimer, I was given the Poly-Fil and Fabric Markers mentioned in this post, but this post is not compensated and all ideas and opinions are mine.)

I'm secretly kind of happy when my kids choose some unique and/or obscure birthday party theme.  Especially when it's centered around something they really love.

We only do "real" birthday parties at our house on certain birthday, because it can be a lot of work.  On the off years the kids still get to have a friend over for a play date, they get to choose the dinner, and after dinner the family has cake...so we still celebrate every year.  They just only get a full blown party with theme and favors and everything once in a while.

Kindergarten is one of the birthday years.  Becca had a hard time narrowing down a themes, and wanted a Rainbow-Dot-to-Dot-Balloon birthday party, which actually left me a lot of leeway.  (It reminded me a bit of the Fancy-Costume-Swim Party that Elephant and Piggie get invited to in I am Invited to a Party by Mo Willems...affiliate link)

Dot-to-Dot Birthday Cake

On the outside, we made a plain white cake.  Then I piped her name out with colored frosting.  Then I added mini M&M's (upside-down) and write numbers on them using a food-safe marker with edible ink (affiliate link).


Sunday, April 26, 2015

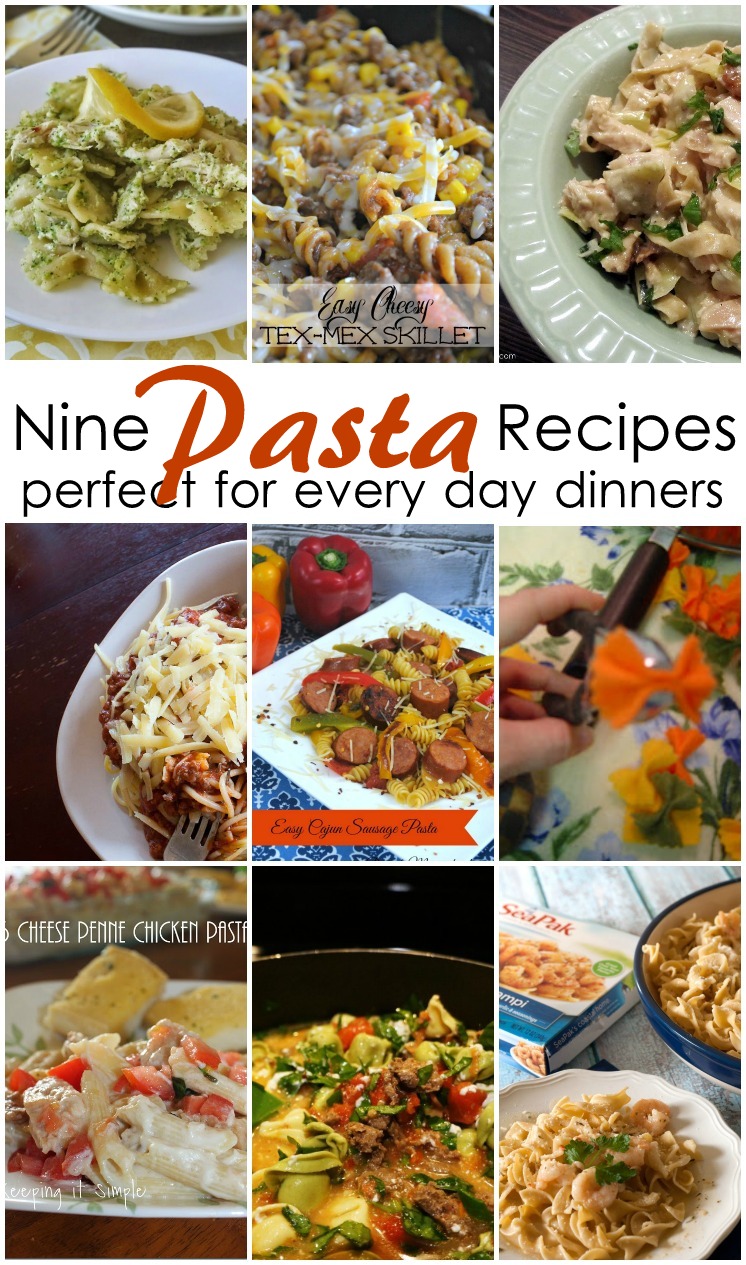
9 Pasta Recipes Perfect for Every Day Dinners and Weekly Block Party

Who doesn't love pasta? It is so yummy, satisfying and quick making it perfect for every day dinners. Here are some awesome pasta recipes and crafts that you guys have shared.
Yummy and easy pasta dinner ideas and recipes

Broccoli Pesto Bow tie Pasta | Easy Cheesey Tex Mex Skillet | Chicken and Artichoke Alfredo | Spaghetti and Meatballs | Cajun Pasta | Felt Pasta Tutorial | 3 Cheese Penne Chicken Pasta | One Pan Totellini | creamy shrimp scampi

Marissa from Rae Gun Ramblings here today and sharing a ton of awesome looking crock pot recipes. I don't know about you but lately I feel like I'm barely keeping up. Luckily I've been utilizing my slow cooker which has helped keep me sane so I figured I could use some more awesome recipes and you guys sure had tons to pick from!
Rae Gun guest posting picture
If you haven’t been over to my in a while here are some of my favorite posts from the last bit.
Now let’s see what your favorite things are that you have been posting! It’s time for the block party!

Link up here and be linked up to 4 fabulous blogs all at once!

Please read through the guidelines before posting:
  • We’d love it if you pinned the Pasta Recipes image above! :)
  • Link to a specific post, not your home page.
  • Don’t add links to promote giveaways, other link parties or your shops.
  • Visit and comment on at least 2 other links in the party.
  • Don’t link posts you’ve linked before.
  • This party starts Sunday @ 9pm EST and ends Friday @ midnight.
  • By entering a link, you give us permission to feature an image on our blogs. Proper credit and links will always be given.
  • Please link back to whatever blog you are linking from and let your readers know you joined the block party on any of your social media channels and invite them to do the same!

Connect with me on... 

Please show my sponsors some love...
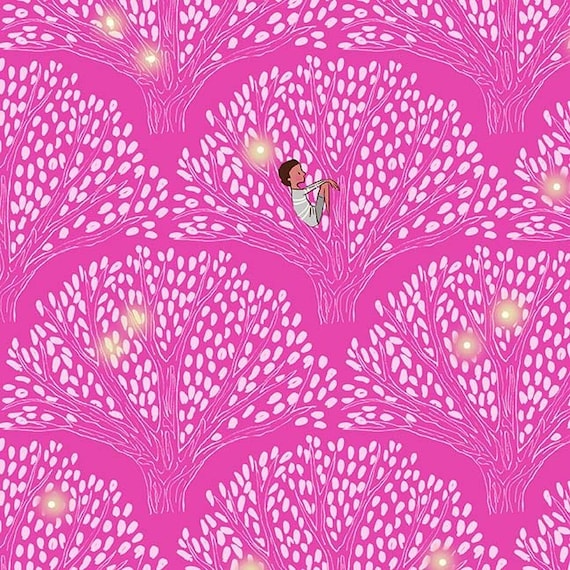
Wee Wander Tree Lights Fabric - From Sisters and Quilters
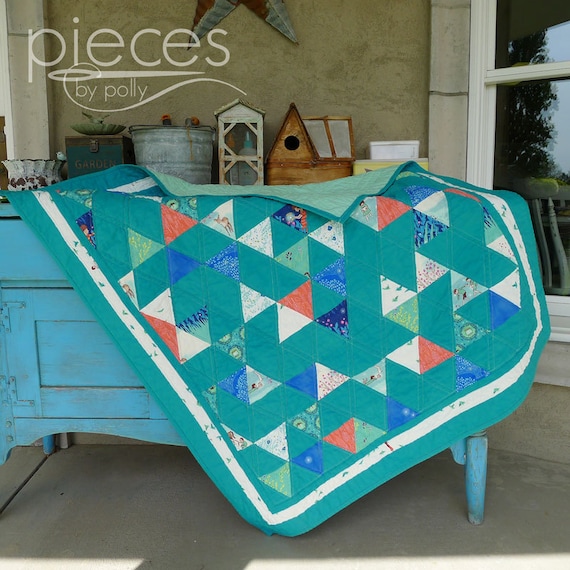
Wee Wander Triangle Quilt with Sarah Jane Fabrics - Pieces by Polly
 

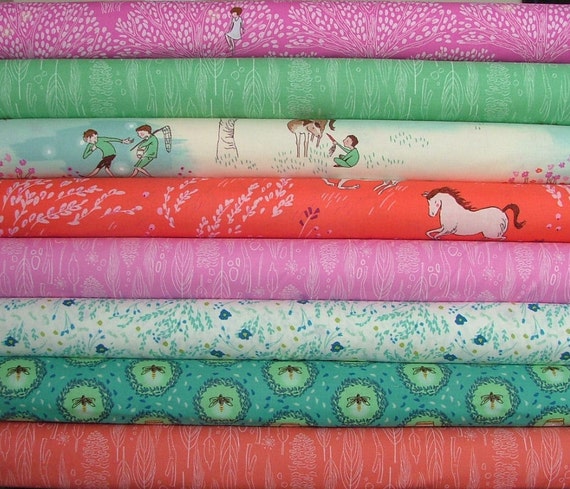
Wee Wander by Sarah Jane Half Yard Bundle - From Sisters and Quilters


Drawing,Doodling and Coloring Book from Lisa @ Usbourne Books


Pin It

Friday, April 24, 2015

I-Spy Pillows Kids Can Make

These I-Spy pillows are super fun because they're easy for kids to personalize either by the color of the fabrics you choose or by the pictures on the fabric.  These pillows are our new go-to-birthday gift at our house. (Disclaimer: I suppose it also helps that I work for Fairfield who gave the Poly*Fil and compensated me for this post.  All opinions and ideas are my own, and their products are so darn awesome, I'd use them anyway.)

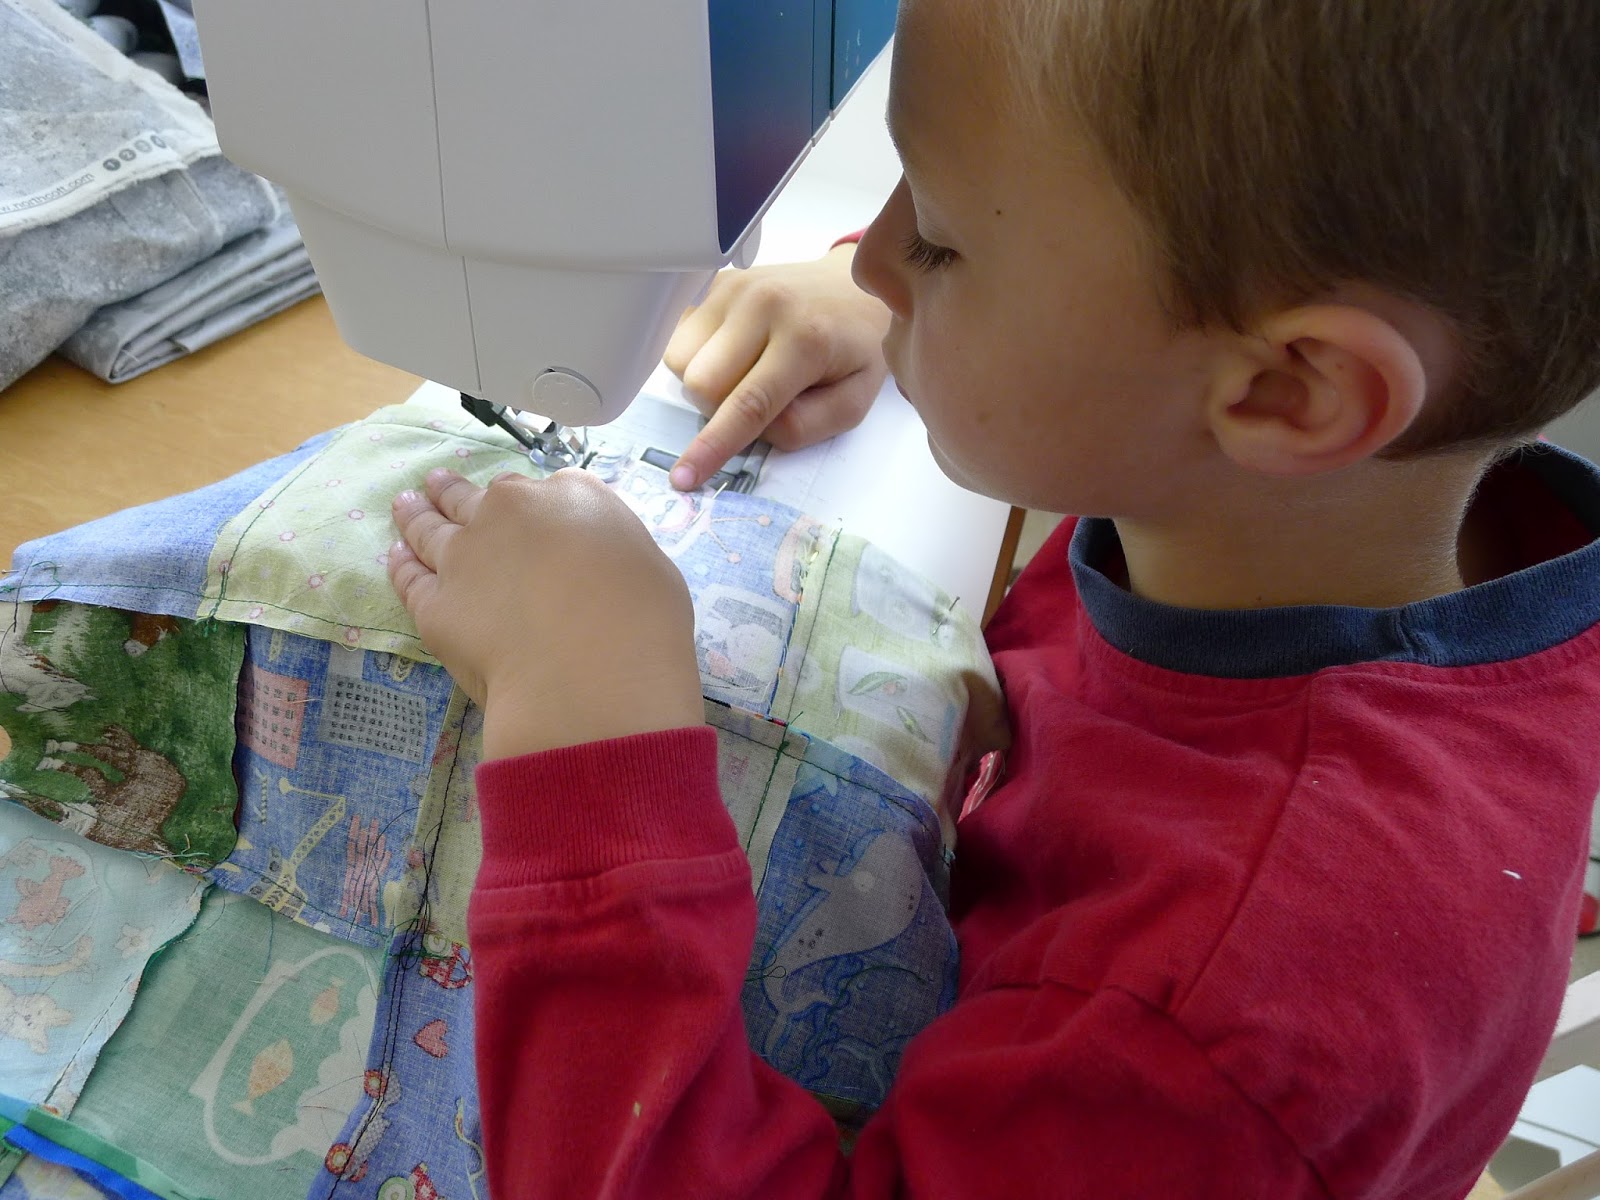
The best part about these pillows is that my older kids can do most of the sewing themselves.

We live in a small town, and sometimes birthday invites come last minute.  These pillows have saved us several trips to the store, and they've gotten lots of compliments.

My kids love looking through all my I-Spy squares and choosing ones they think their friends will like.  The best way to get lots of I-Spy squares is through a swap.  Sometimes I have extra I-Spy Sets listed in my Etsy Shop.  You can also check with your local quilt shop for charm packs.

This last time, I got smart and took the photos for a tutorial.

Skill Level: Basic Sewing Skills - Great beginners project

Materials: 


Time Needed:  Less than 1 hour for an adult.  It might take longer for a child.

Note about Sewing with Kids:
You'll need to use your best judgement about when to have your child start sewing.  My three older kids (age 10, 8, and 6) are about equally good at sewing because my youngest has the longest attention span and most interest.  The oldest has a shorter attention span and has a harder time finishing a tedious project.  You really have to judge by your child's interest and attention span.  Also be prepared that a child might not have the attention span to complete

Directions:

Sunday, April 19, 2015

20 Mother's Day Gifts Mom Will Love and Weekly Block Party Link-Up


It's time for another Block Party hosted by Making the World Cuter | Rae Gun Ramblings Keeping It Simple Crafts | Pieces By Polly!
 
Polly here from Pieces by Polly as your host for this week.   Spring is here in my part of the country which means it's time to start thinking about Mother's Day Gifts.  
http://www.piecesbypolly.com/

Now let's see what you've been up to! Be sure to read over the guidelines…
  • We’d love it if you pinned the 20 Mother's Day Gifts Round-up above! :)
  • Link to a specific post, not your home page.
  • Don’t add links to promote giveaways, other link parties or your shops.
  • Visit and comment on at least 2 other links in the party.
  • Don’t link posts you’ve linked before.
  • This party starts Sunday @ 9pm EST and ends Friday @ midnight.
  • By entering a link, you give us permission to feature an image on our blogs. Proper credit and links will always be given.
  • Please link back to whatever blog you are linking from and let your readers know you joined the block party and invite them to do the same!


Connect with me on...

Pin It

Sunday, April 12, 2015

Easy Recipes Perfect for Warm Weather and the Weekly Block Party

Hello everyone!!  I am so glad that you are here today!  The weather is starting to warm up and it's time to start thinking about eating outdoors.  Check out these awesome recipes that will be perfect for warm weather and eating outside! 


It's Kaysi again from Keeping it Simple.
 

I love warm weather and creating super yummy drinks.  Here are a few of my favorite ones.

Now time for the party!
Now let's see what you've been up to! Be sure to read over the guidelines…
  • We’d love it if you pinned the Warm Weather Recipes above! :)
  • Link to a specific post, not your home page.
  • Don’t add links to promote giveaways, other link parties or your shops.
  • Visit and comment on at least 2 other links in the party.
  • Don’t link posts you’ve linked before.
  • This party starts Sunday @ 9pm EST and ends Friday @ midnight.
  • By entering a link, you give us permission to feature an image on our blogs. Proper credit and links will always be given.
  • Please link back to whatever blog you are linking from and let your readers know you joined the block party and invite them to do the same!

Connect with me on...


Pin It

Thursday, April 9, 2015

Button-Up Pillow Cover Tutorial

These Button-Up Pillow Covers are so fun to make.  I chose to make these with Peanuts character fabric because my daughter's reading teacher loves Snoopy and these pillows were destined for the reading corner in her classroom.  (And a big thank you to Fairfield for providing me with the pillow inserts and compensating me for this post, so I could get these into my daughter's classroom.  All idea and opinions are 100% my own.)
(If you like that LUV 2 READ Conversation Heart Pillow, you can find the tutorial here.)

Most pillow forms have the opening on the back, but this fun design puts the opening on the front as the focal point.

These would look great with any kind of fabric, and could match any decor.  And don't worry about finding matching buttons...you'll make your own buttons with your fabric.

Difficulty Level: Easy-Moderate

Time: 1 Hour

Materials (for one pillow):


Cut:

From your main pillow fabric cut:

  • 1 square 19 x 19 inches
  • 2 rectangles 9 x 19 inches
From contrasting fabric cut:
  • 2 rectangles 5 x 19 inches
From Smooth Interlining:
  • 2 rectangles 2 x 19 inches

Directions:
Start with the two accent rectangles.  Fold them both in half "hot-dog" style and iron.

Slip your Smooth interfacing between the two layers of your folded accent rectangles.  Line it up all the way against the fold.  Iron according to manufacturer instructions.

Line the raw edges of your accent piece up with the raw edge of your 9 x 19 piece.  Sew with a 1/2 seam allowance.

Iron seam allowance toward your main fabric.

Repeat for both pieces.

Line up your two pieces, so that the accent pieces completely overlap.  When laid out this way, together they should make a 19 x 19 inch rectangle.  Now we're going to mark the button holes.

If you're using 4 buttons per pillow like I did, you'll want to mark them at 4", 7 5/8", 11 3/8, and 15".  (You can start your measuring from either side.)

Sew your button holes.  If you've never sewed a button hole before, this is a great chance to be brave!

Line your two front pieces up again, so that the yellow parts overlap completely.  Use a pencil to mark for the buttons through the center of the button hole.
Now you'll want to get your buttons ready.  Fabric covered buttons are REALLY easy to make.  Everything you'll need is included with the kit.  Use the included circle to cut out your fabric circles.  Make sure the design you want on your button fits inside the inner circle, and from there just follow the directions on the package.


Sew your buttons onto your second half.

Button up your pillow top.

Lay it over the back of your pillow with RIGHT SIDES TOGETHER.

Sew around all four edges with a 1/2 inch seam allowance.

Clip corners.


Unbutton your pillow cover and turn right side out.

Insert your pillow, and button it up.


And if you're a real Snoopy and Peanuts fan, you might also want to make one of these Charlie Brown inspired chevron pillows.  My full tutorial is on the Fairfield World website.


Connect with me on...


Pin It