


We made these for Teacher Appreciation Week as a gift for my daughter's kindergarten teacher, but they'd make a great end-of-year gift too.

My favorite teacher gifts are things that meet a specific need for their room, and lots of teachers have a reading corner with cushions to encourage kids to cozy up to a favorite book.

If you have an early reader in your house and you haven't discovered The Pigeon books or the Elephant and Piggie Books by Mo Willems yet, YOU NEED TO. We were introduced to them a couple year ago by our school librarian, and they are awesome. Don't Let the Pigeon Ride the Bus is the original Pigeon book and The Pigeon Fabric from Cloud 9 Fabrics focuses on that book. But really if you have an early reader, you need the whole set or a trip to your local library.

Mo Willems books have been super popular this year in my daughter's kindergarten class, so we thought Pigeon pillows would be perfect.

Skill Level: Late beginner - Intermediate
Time: 1 - 1 1/2 hours
Materials:

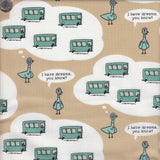
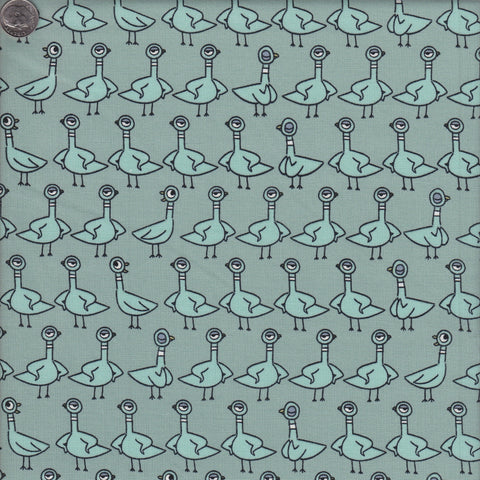
- 1/2 yard of Pigeon themed fabric for main pillow. Quilt Sandwich Fabrics is one of my favorite local quilt shops and they have quite a few. Repeating Pigeon Farbic available here. Pigeon Dreams available here, Pigeon Word Bubbles available here, Frenzied Pigeon available here from Fabric.com.
- 1/4 yard The Pigeon Cheater Print for large appliques
- 1/2 yard lining fabric. (I used some cheap black fabric I had around. This won't show, so it doesn't need to match.)
- 1 - 16" Home Elegance Pillow Insert
- 1 - package Soft'n Toasty 100% Cotton Batting or Large Batting Scraps
- 1 package paper-backed fusible web
- 1/2 yard sew-on Hook and Loop or Velcro fastener
- Coordinating Thread
- Scissors
- Basting Spray (optional)
Instructions:
Cut 1 - 17"inch square and 2 - 17"x11" rectangles of EACH of the main pigeon fabric, your batting, and your lining fabric. (So, you'll have a total of 3 squares and 6 rectangles.)


Cut out 1 or 2 large pigeons and 1 or 2 large word bubbles from your cheater print. Cut out paper backed interfacing large enough for each shape.

Iron paper-backed interfacing onto the BACK of your fabric following manufacturer's instructions.

Cut out leaving a generous 1/8-inch of fabric around your word bubble and pigeon.


Peel off paper backing.


Arrange onto your 17" square. You want it AT LEAST 2-3 inches away from the edge of your pillow, so that it will still be clearly visible when your pillow is stuffed. Iron securely according to manufacturer's instructions.


Layer your front, batting, and lining fabric into a quilt sandwich.

I love to use basting spray to keep everything from sliding, but it's not completely necessary on a small project like this. If you've never tried basting spray, you should. It will revolutionize your quilting life.


Using a tight zigzag stitch or satin stitch, sew around the edges of your appliques with coordinating thread. Leave your thread tails long INSTEAD of back-stitching.

Pull your thread tails through to the back and tie a secure knot.


Using coordinating thread, add some extra quilting lines to the front of your pillow to keep things secured. I just did random lines going every which way, with breaks, so they didn't go through my large pigeon or word bubble.

Now we'll start on the back side of our pillow. Because I just had 1/2 yard of fabric and my print had an up and down to it, the opening on the back of the pillow had to be vertical. Take your rectangle pieces and layer them with with the batting on the bottom, your lining fabric FACE UP, and your main cover fabric FACE DOWN.

Pin along the interior edges that are going to become your pillow opening. Stitch with a 1/2 inch seam.

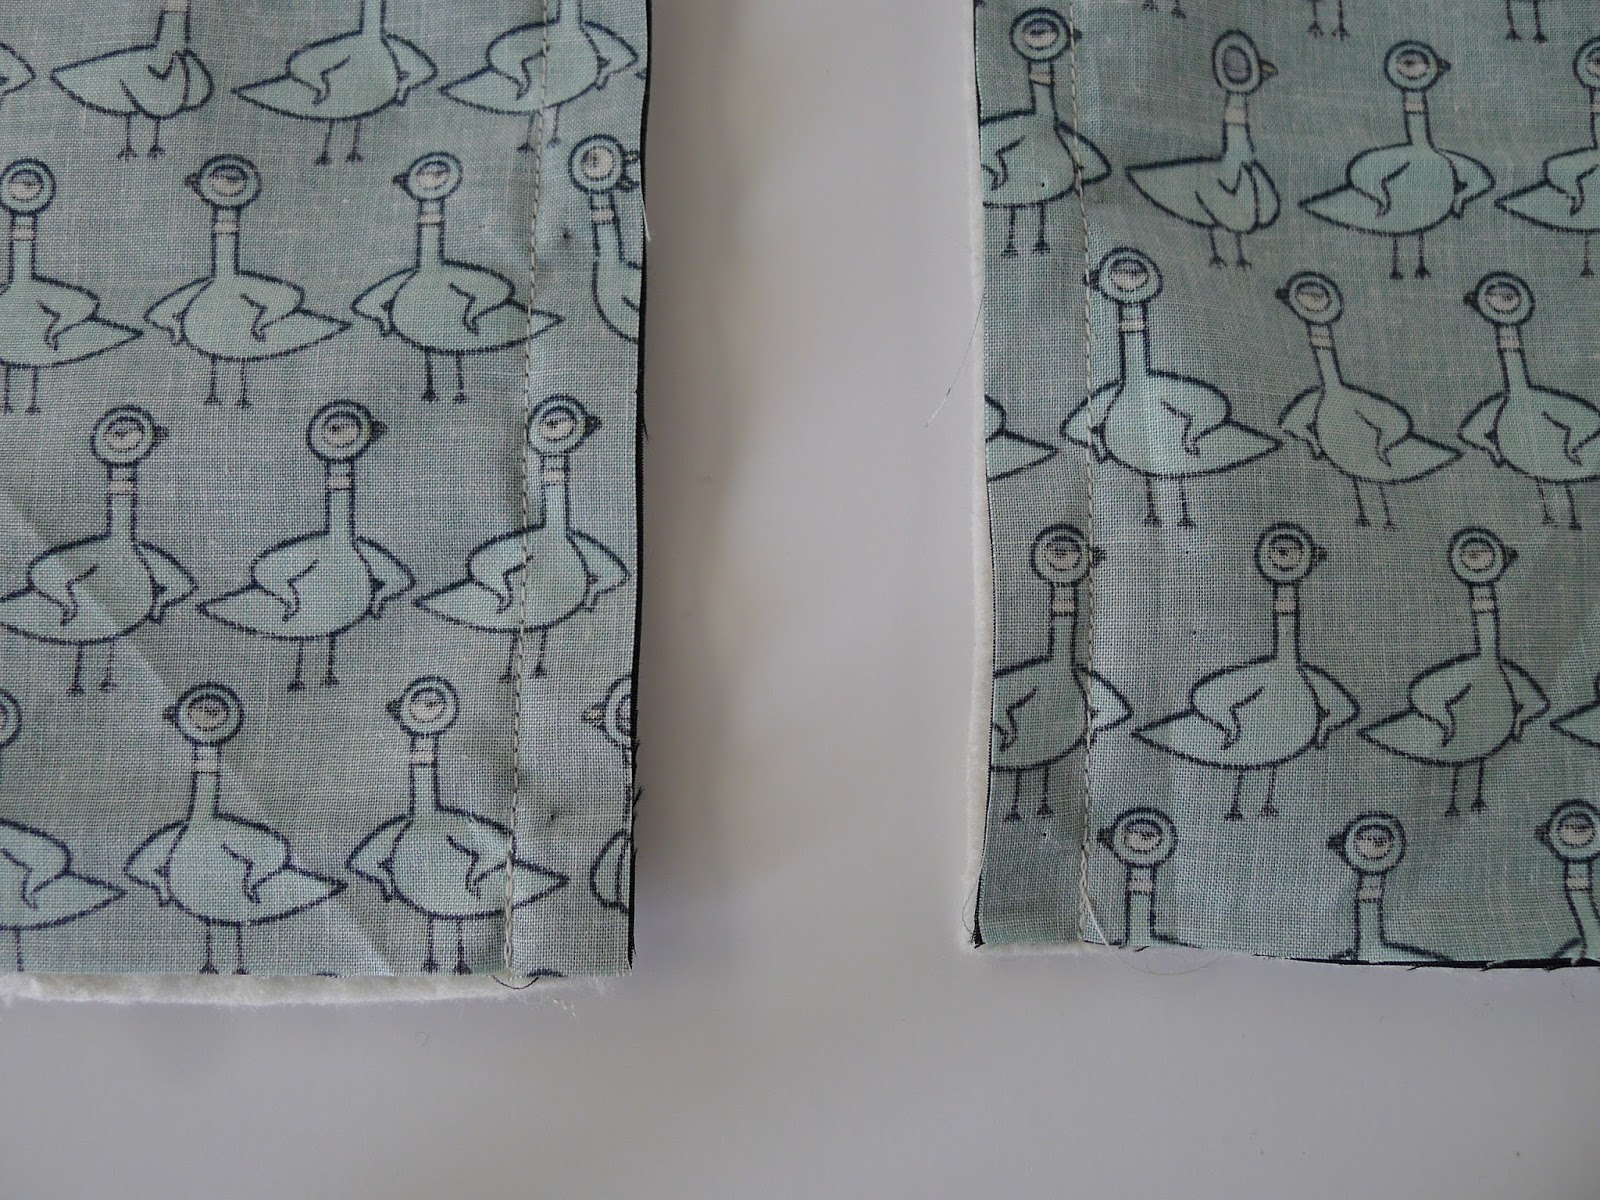
Iron your seam so that the batting is now between the lining and the main fabric. It works best to fold it so that some of the main fabric just slightly shows on the back, thus making sure the lining fabric does not show on the front.
If you're using basting spray, you may want to add some between the batting and the two layers of fabric to hold everything in place.


I had extra large Pigeons and extra word bubbles, so I chose to add them to the back of the pillow as well. If you're going to add appliques to the back, repeat the steps from earlier to add the pigeons and stitch around them using the zigzag stitch.
Add quilting lines the same way you added them to the front.
Cut 17 inches of sew-on velcro. Sew one side of the velcro 1/8-1/4 inch from the edge of the outside flap of the pillow cover.

Place your two back rectangle pieces over your front square, with the outside flap on top. Carefully fold over the top flap just beyond the velcro, so you can measure for where to place the other side of the velcro.

Pin and sew.


Use the velcro to connect your two back pieces to form a square that will make the back of your pillow.

Place the front and back of your pillow RIGHT SIDES TOGETHER, and pin around all four edges.

Sew with a 1/2 inch seam allowance around all four sizes.


Trim corners.


Open the velcro and turn right side out, paying particular attention to the corners.


Insert your your pillow.


Now go grab your favorite pigeon book!


Please show my sponsors some love...


I love these pillows! They are sooooo cute! I'm pinning this. I my have to get some of the pigeon fabric.
ReplyDeleteNavy Wifey Peters @ The Submarine Sunday Link Party
So darned adorable! I had to pin!!
ReplyDeletenice
ReplyDelete