
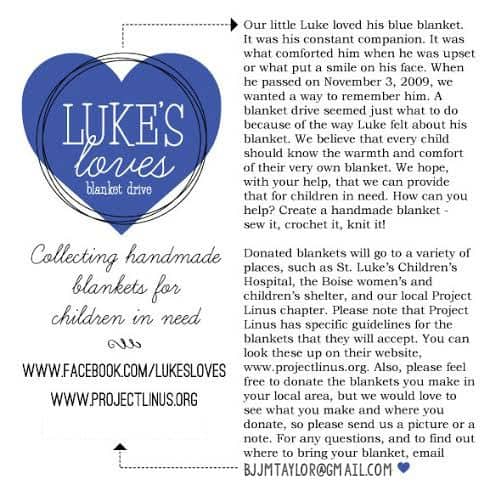
We're sharing the pattern with you as our contribution to the Luke's Love Blanket Drive and Blog event going on over at A Girl and a Glue Gun. You can learn more about Luke's Loves here. Lots of other craft and sewing bloggers are sharing their favorite quilt and blanket patterns, so be sure to check out the linky at the bottom of this post.
Several things I love about this particular pattern:
- Simple Construction
- No corners that need to be matched
- No repeating pattern for the kid to worry about and possibly mess up (except the alternating stripes)
- A little room for creativity and improvisation sewing the scrappy stripes
We started by choosing a main theme fabric from my stash. In this case it's a fun print with cows jumping over a Van Gogh/Starry Night-ish moon. Then using that as a base, we chose some other scraps from my stash that coordinated and contrasted with the cow fabric.
Materials:
- 1 Yard Main theme fabric
- Scraps from 3-6+ different fabrics, at least 6 inches wide. Together, these should total about 1 yard of fabric.
- 1/3 yard of cotton fabric for binding.
- 1 2/3 yards backing fabric. (We used flannel for softness.
- Nature-Fil™ Bamboo Blend Batting 60″ X 60″
How to Make Your Quilt
- From your main fabric, cut 6 width-of-fabric strips that are 6" wide. (I chose 6 inches strips because my ruler is 6" wide, so it made it really fast and easy to cut the strips.)
- Cut the rest of your scraps into strips of various lengths 6" long
- Lay out one of your main fabric strips for comparison
- Sew your scraps together end-to-end until you have a strip as long or longer than your width of fabric strip. Trim if necessary.
- Repeat until you have 5 scrappy strips that are the same width as your main strips. I encouraged my child to start each strip with a different fabric each time and to try to keep fabrics balanced throughout the quilt, but ultimately, he got to decide where they went.
- Iron your seams to one side.
- Sew your strips together. You should have 6 main fabric strips and 5 scrappy strips.
- Depending on the width of your main fabric, you finished top should be about 42x60 inches.
- Quilt using whatever method you prefer. Tying can be easy for kids, but I prefer to use machine quilting stitches on either side of the strip seams. Your kids will love the chance to just let the machine run.
- Bind your quilt and you're done!
Before we sent our quilt off to Seattle Children's Hospital through Katie's Comforters, we decided to do a little photoshoot. We're hoping that whichever sick or hurting little boy who receives this blanket will feel better soon and get to do some of these same things with the blanket. (And after we took the pictures, we thoroughly washed and dried it, so it would be completely clean for donation.)
And one of the things that I really love about this boy is his kind and generous heart. It can be hard for a kid to give away something that they worked so hard on, but Seth didn't balk at all when it was time to say goodbye to the blanket. He wrote a little note and printed a picture to go with it, and rode his bike to drop it off to our neighbor's for delivery to the hospital (since unfortunately, our neighbors son has to go to Seattle Children's for regular treatments.) We send most of our charity quilts to an organization called Katie's Comforters who supply quilts to Seattle Children's Hospital. Even though Seattle Children's is several hours away from us, several of our friends and neighbors receive treatment there, so this is a small way we can show our appreciation.
And if you're looking for more blanket ideas, check out the other bloggers participating in Luke's Loves.


No comments:
Post a Comment
Thanks for taking the time to comment. I love hearing from you. I also love responding, so please make sure your Blogger account is set up for me to be able to see your email address or include your email address. I've had to stop accepting anonymous comments due to spam. If you don't have any other way to comment, you can always send an email.