
Just in case you missed it, I thought I'd repost my tutorial for this Peas in a Pod Pendant that appeared on Keeping It Simple last week. These are quick, easy, and inexpensive to make.
Peas in a Pod Pendant...

My oldest two kids (ages 6 and 4) are adopted in open adoptions, so I'm always on the lookout for simple, but meaningful gifts for their birth parents. My daughter's birth mom was married this year and is pregnant with a little girl, so I made her a "Three Peas in a Pod" necklace, which can symbolize herself, my daughter, and her new baby or can symbolize herself, her husband, and new baby.

I made a "Two Peas in a Pod" necklace for my son's birth mom to symbolize the two of them.

A "Four Peas in a Pod" somehow showed up in my own stocking to symbolize my three kids and our baby on the way.

And I made several other necklaces as well...once you've made one, it's super easy to make more. You can make them with any number of beads, but the ones I made with two or three turned out the best. (My first one also didn't turn out nearly as well as the others...so if one doesn't turn out as well as you were hoping...you've really got to try a second.
I saw some Peas in a Pod necklaces floating around Pinterest and went looking for some tutorials. My favorites were this Sweet Pea Pendant from Positively Splendid and this Pea Pod Charm from Heidi's Hubbub. You can also find a lot of different Peas in a Pod necklaces on Etsy for inspiration and other ideas.
Here's what you'll need:

- Some craft wire...I used 24 gauge, but any gauge close to that will work.
- Some beads...I chose green. They came with about 20+ beads on a string for about 3 dollars. I've seen these made with white or lots of other colors too.
- Wire cutters, or old scissors to cut the wire with
- Needle nose pliers can be helpful, but are not necessary.
- A chain for the necklace, if you don't already have one. I bought mine for $2 each at the craft store.
Here's what you do...
I used the directions from Amy at Positively Splendid for the first half, and then changed the second half a bit, so you might want to refer to her tutorial too, if something doesn't make sense here.
You'll want to start with a LOT of wire...24-36 inches. If you find that's too long for you to be able to work with, though, you can work with shorter segments and just twist the ends into the back and start a new wire.
Start by making a loop with your wire, that's just a little bigger than what you need to go around your beads. Wrap the wire around several times.

Twist your short tail back down around the stem and loop.

With the long wire you have left, fashion a small look that can be used to hang your pendant from your necklace. Twist the wire around the stem a couple more times.

Now we're going to weave the wire in and out through our big loop to make the back of our pod.


Keep weaving the wire, until you've loosely filled in your large loop.

Next, I wrapped the wire around the end, to make a small loop for threading wire through, in the next phase.

Now we're going to string our beads on.

Wrap the wire around your stem a couple times.

Now we're going to make several larger loops by running wire through the small loop at the bottom and twisting it back up around the stem.


You'll want to make 3-5 of these larger loops which will be the basis of the sides of our pea pod.

Wrap the wire around the top stem a couple times. Now we're going to start wrapping those larger loops to bundle them all together with little loops.

Continue wrapping with the little loops until you've gotten all the way around your pea pod.

Pull your wire through the back.

Trim and work the wire back through the pod.

Pull tight and cut the wire close to the pod and make sure the end, isn't sticking out where it could catch on clothing or scratch the wearer.

String it on a necklace, and you're done!

And if you're looking for a cute way to give one of these as a gift, you can see my tutorial here for using the same beads and wire to make bows or ties around your gift.


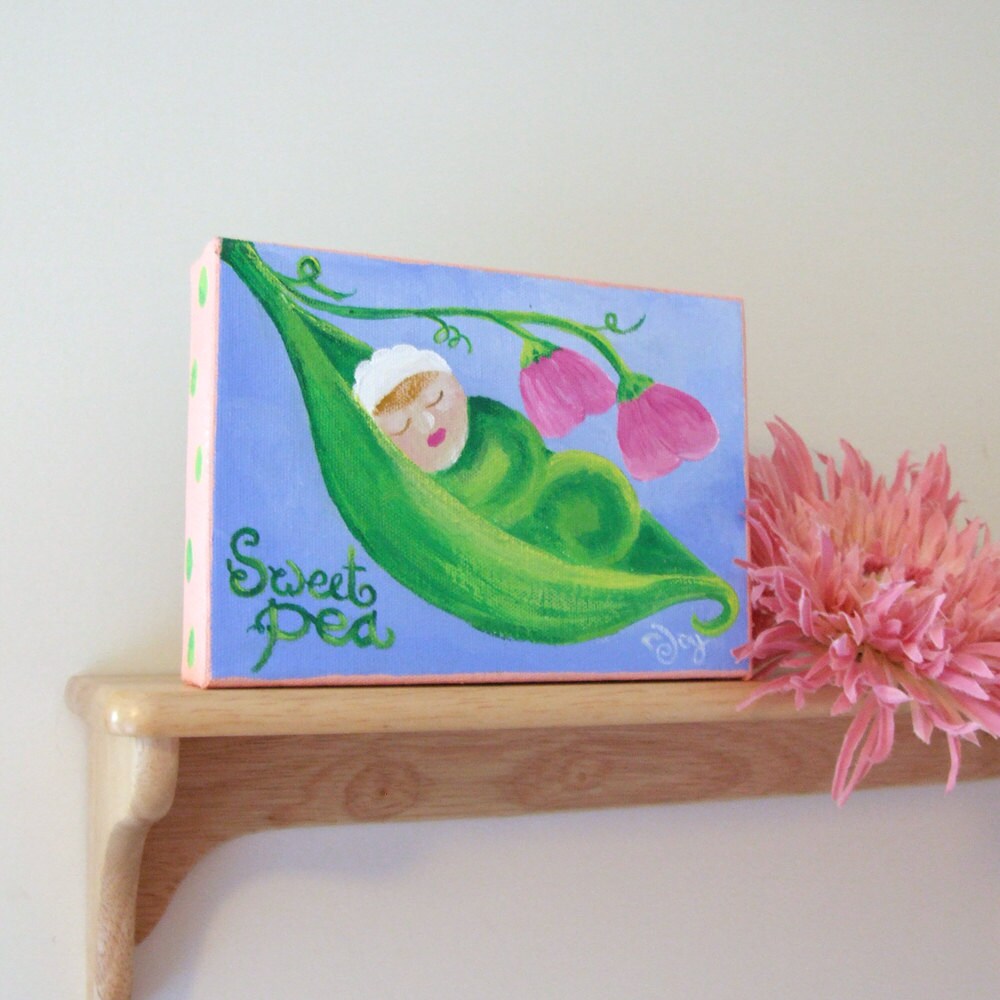
And if you're looking for a sweet little nursery painting to go along with a Pea in a Pod Necklace, nJoyArt offers a boy Sweet Pea ...
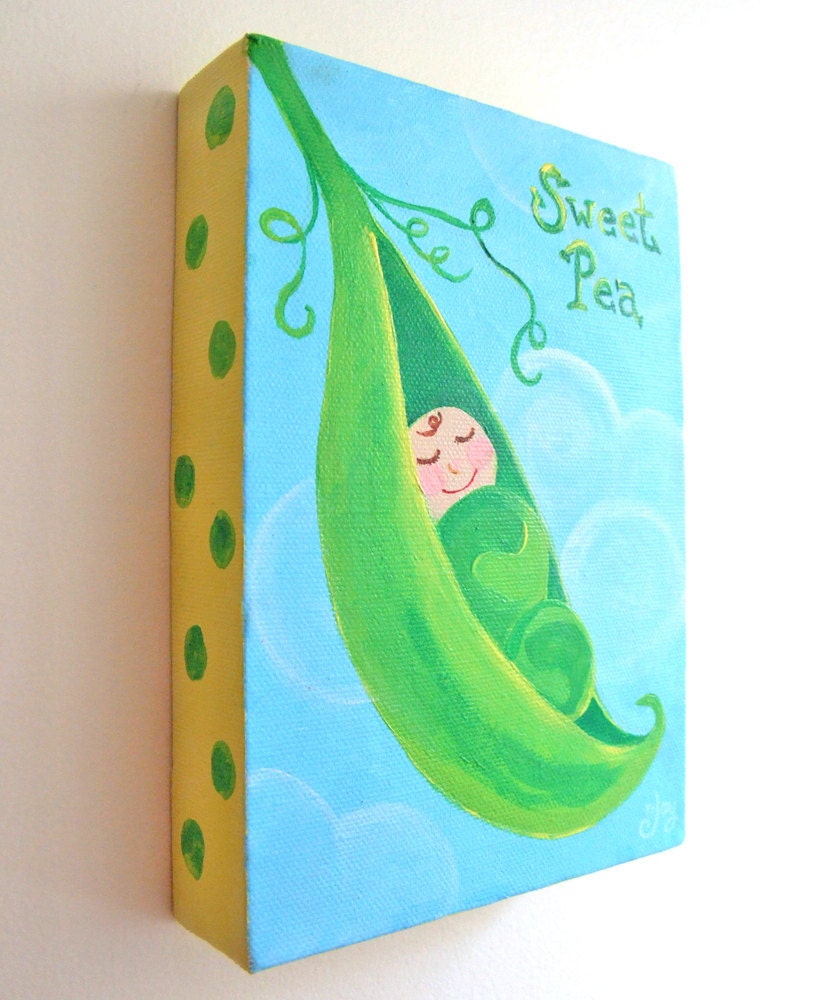
And a girl Sweet Pea...
I'll be linking to:


So cute!
ReplyDeletepinning pinning pinning. I love this!
ReplyDeleteI love this - the peas in the pod are darling! Stopping by from TT&J
ReplyDeleteAmanda
everycreativeendeavor.com
LOVE this idea, three peas in a pod to represent me and my kids!! (even though one of my "peas", so to speak, is getting married, and will, hopefully be starting her own pea pod full of some little grand baby peas!) Have a great weekend! ~tina
ReplyDeleteWow...you make this look so easy - and it looks like true artwork!! Well done!
ReplyDeletePlease stop over to enter my giveaway for digital scrapbook software!
Im sooo excited to make this! Thank you so very much for teaching me how to:)What a great gift! Deidre~ http://simplysimplisticated4.blogspot.com
ReplyDeleteThis is soooo sweet! Would love it if you came by and linked up! http://serendipityandspice.blogspot.com/2012/01/manic-monday-linky-party-2.html
ReplyDelete-Melissa
This is adorable! Thank you for the tutorial! I found you through Skip to My Lou.
ReplyDeleteAdorable! 3x
ReplyDeleteOh so SWEET!!!! I LOVE this idea... I will have to give it a try thank you for the GREAT tutorial and for linking up with me at http://shoprubyjean.com/2012/01/sew-crafty-tuesday-7-and-winner/
ReplyDeleteThis is so sweet! This would be perfect for my friend who's pregnant with twins.
ReplyDeleteIf you're interested, we're hosting our first ever link up party. Please stop by and link up! http://www.waywardgirlscrafts.com/2012/01/wayward-weekend-week-1.html
Very cute. I love making jewelry. I need to try this. I host a weekly linky, stop by fri-monday to link up. I am also hosting a Valentine contest with some great prizes.
ReplyDeletehttp://bacontimewiththehungryhypo.blogspot.com/
That is super cute! Love it :)
ReplyDeleteI'll be sharing this at my Sunday Spotlight tonight!
ReplyDeleteThank you so much for this! I found you through Ruby Jean. I can not believe I almost paid $30 for one of these off etsy. Sooo glad I didn't now!
ReplyDelete