


So far every time I've participated in an I-Spy swap, I sign up for double spots...that way I've got plenty of extras to make hospital quilts from and if there are squares I just really, really love, I can put one in a quilt and put one in something like this. I tried to remember some of Becca's most favorite squares from when she was sorting through them with me...or squares that just seemed especially girly.


(If you like the snitch necklace she's wearing, you can see more details about it here.)
Becca just turned 4, but she's really more of a small 3T size. The skirt is big enough that will will fit her for a long time...so you can kinda use that to judge how big to make one of your own.

44 4'' I-Spy Squares
1 1/2'' wide elastic long enough to go around your child's waist plus 1/2 an inch.
Thread, scissors, sewing machine, etc...ya know all the stuff you normally need to sew.
I laid them out in rows, 8 squares in the first row, 10 in the second, 12 in the third, and 14 in the fourth. I actually think it would have looked good a little fuller, so you could add a few more squares in there if you wanted. You want to make sure that the first row, when sewed together will still be plenty roomy to fit over your child's hips

Then I started sewing each row together with a 1/4 inch seam...


Next, I pulled the gathering strings bit-by-bit until it fit the bottom of the 3rd ring of squares. I pinned frequently and then stitched.


Becca loves it...even if she was a bit of a reluctant model at first...


If you're interested in other I-Spy Projects, you can see some here. If you're interested in participating in an I-Spy Swap, I'm not planning on doing any soon, but you can sign up to get an email when/if we do another one here. I also ended up with a couple extra sets from our last swap, and those are here in my Etsy shop.
Urban Mod Half Yard Bundle from Sisters and Quilters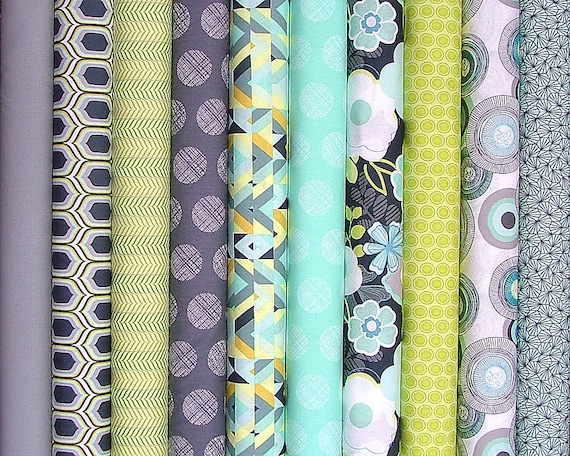 | Create You Own Fat Quarter Bundle From Sisters and Quilters | Tuxedo Collection Fabric Bundle - From Sisters and Quilters |
Thats such a cute idea, although my 3 year old would probably strip to play ispy LOL
ReplyDeleteرائعه جدا
ReplyDeleteaww what an adorable idea for an adorable little girl! Thank you so much for sharing this and linking up with Handmade Tuesdays @ Ladybug Blessings. www.ladybug-blessings.com
ReplyDeleteThis is so pretty and your daughter is so cute. I found you through the Sugar Bee Crafts link party.
ReplyDeleteThank you so much for this fabulous tutorial. I’m going to give it a try this weekend! I featured it today on my Weekly Inspiration post on my blog:
http://www.sewcreativeblog.com/weekly-inspiration-diy-projects-for-the-long-weekend/
Best Wishes,
Crystal
Just finished up my ispy skirt for my 4yr old niece.Super easy putting this together. and i am a quilter not a dressmaker! she plans to use it for "dress up" and more will be made for my friends daughter's bday party. thanks for an easy tutorial and a great birthday theme idea.
ReplyDelete