

(If you're interested in joining an I-Spy Swap, I've got one going on now. The swap is full for regular fabrics, but there are still a few spots in the Christmas Swap.)
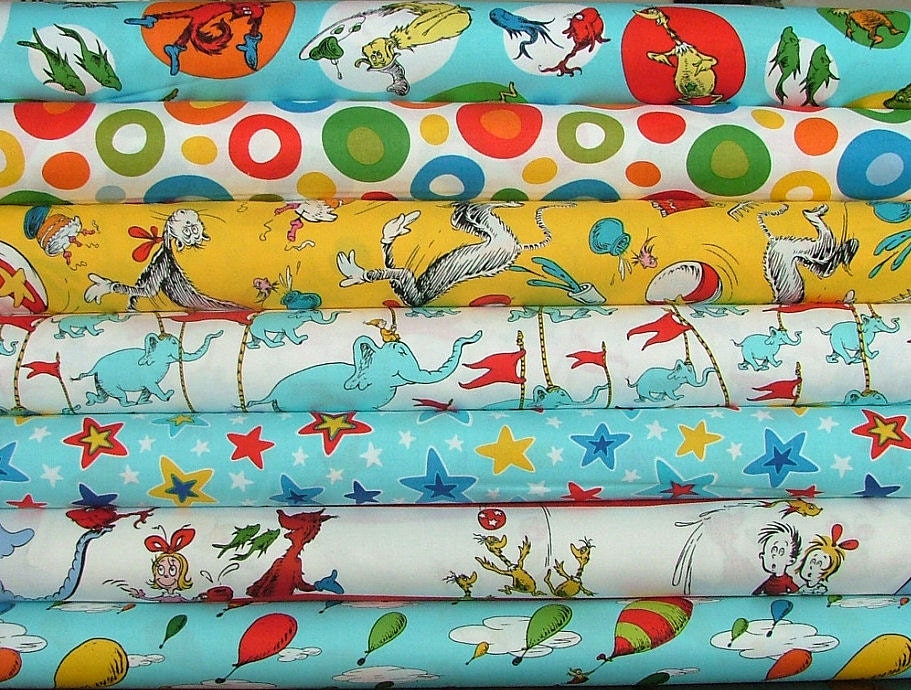
You really only need 9 squares to make a wonky star block, but I liked using 16 squares so that I could vary where the center of the star was and add to the wonkiness. I was using I-Spy squares from a swap, so they were all 4." I used 15 I-Spy squares and 1 white square for each block. You'll also need some white scraps for making the star parts.

I started by figuring out how I wanted my squares arranged. The squares right next to your star center will have some of the print covered up by the points of the star, so keep that in mind placing the pieces. I ended up switching the ducks and the cats after taking this picture because I didn't want that fun yoga cat getting covered up by the star point.

Once you know where your pieces are going to go, you can start your squares. You start by laying a scrap across one of the corners that will become a star point. You want to make sure that when you sew the 1/4 inch seam and fold the white fabric over that it will cover that whole corner of the square.

You can see in that I placed mine a little differently each time.

Then you'll iron your square so that your original square is flat and the white is ironed flat over it.

Trim off the extra white.


Then I lifted the white up and trimmed the fabric back underneath. I was using some some thinner white fabric I had. If you're using a darker fabric for your squares, or something thicker like Kona cotton, then this may not be necessary.

Now for the second star point, you'll place your white scrap over the square so that the edge of your new piece just touches where your last star point reached the edge. When you sew this seam, that will give you about 1/4 inch on the side of the square that is all white...that will be inside your seam allowance when yo sew your blocks together so that the tip of your colored block, will just meet your star center piece.


Iron and Trim like you did for the first star point, and trim the extra on the back.


Now that you have your completed start points, you can put them back into your overall block pattern and sew them up!


Please show my sponsors some love...

I'll be linking to:


I think i may have to add this to my list of "must try" projects.
ReplyDeleteWould make cute Christmas pillows.
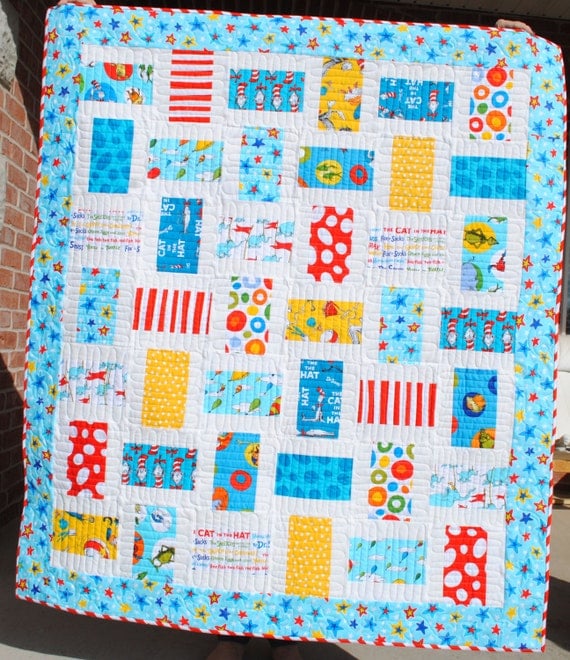
ReplyDeleteWonky stars and I spy make really great looking quilts. Thanks for sharing. I just absolutely love these. I may have to try making one of these.
ReplyDeleteLove this quilt. Great job! The stars are perfect on that busy background!
ReplyDeleteO M GEE! This is adorable! I came across this block for some reason today and thought it might be a cool scrap buster as I have seen it and have been seeing it on blogland. So, I typed in images of wonky star and I saw your colorful one with the tutorial banner. I got the addy and typed you in and I am a fan! I'm so excited! The quilt is simply a feast for my eyes! The little girl is adorable too and I love the backdrop of garden equipment! I'll peruse your site now!! Thank you!!!!
ReplyDelete