


Here's what you'll need:
Oversize T-shirt
Large black button (optional)
Black thread
Scissors
Pins
Iron-on Hogwarts patch {You can buy one here (affiliate link) or make your own.} I'll have a tutorial for making your own up soon.
Sewing machine (although if you don't have a sewing machine, there's so little sewing you could do it by hand or even use a glue gun.)
If you want to make a doll version, they're made the same way. You can see my tutorial for an 18-in doll Hogwarts Robe here.
You need to start with an oversize T-shirt. I used an adult size large for my smallish 4-year-old. I used a child size 10-12 shirt for my 20-month-old. Basically you want the sleeves to go to their wrists and the hem to go to their feet.

Lay the T-shirt out inside out on the floor. Lay your child on top of it, so that they are centered and their shoulders are even with the top of the shirt.

Use a light colored pencil to mark your sew lines. I used a yellow colored pencil, but the lines didn't show up in the picture, so I added them into the picture with my computer.

Before moving or cutting the shirt, use straight pins to hold fabric together where your lines are drawn. (Just sew over the pins as you go, as long as your machine can handle it.) Cut the front of the shirt up the middle.

Sew along your drawn lines and cut out the extra. At the arm pit corner, you'll need to clip the fabric close to the sew line, but be careful not to cut the thread.

At the center of the front, fold the fabric over about half an inch (although you could do less if you need to to fit your child) toward the back and sew to make a hem down the front.

You can stop here if you just plan on having your cloak open. However, if you want a button, you'll need to add a button hole near the collar. I used a scrap of the t-shirt fabric to reinforce my button hole, although that's not necessary. T-shirt fabric stretches quite a bit, so you can actually make the button hole a little shorter than your button. Be sure the button hole is going the same direction as the color...side to side...otherwise the button is likely to pull out of the button hole while the cloak is being worn.


Iron on or sew on your Hogwarts patch. You can order them here (affiliate link) or you can also print one on an ink jet printer. I'm hoping to have a tutorial up for that soon.

That's it!


I have lots of Harry Potter inspired gifts and fun things in my shop. The selection is always changing.

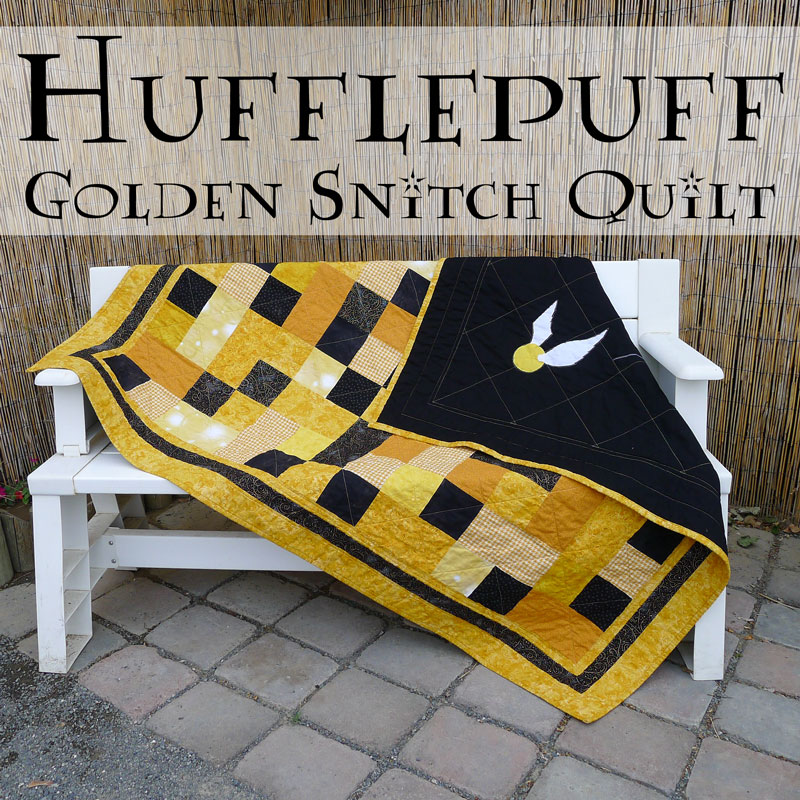
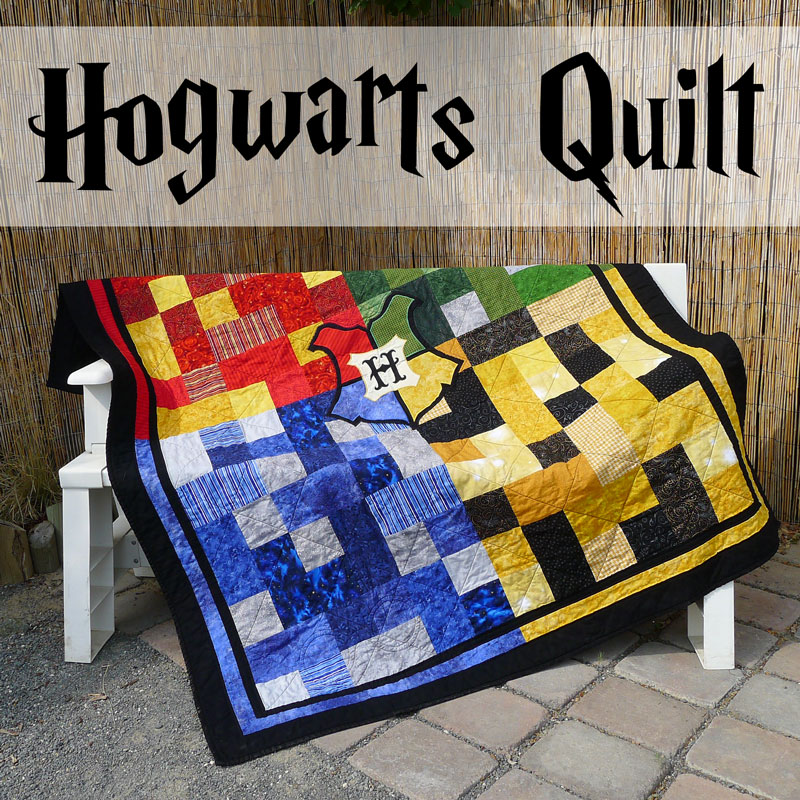
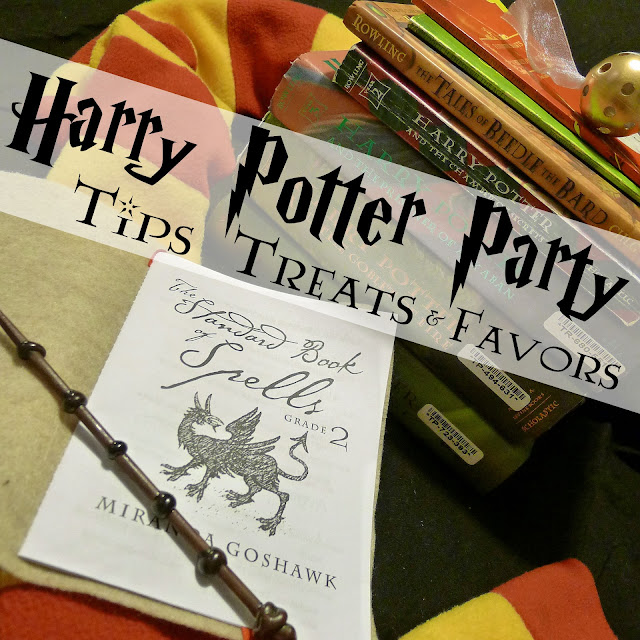
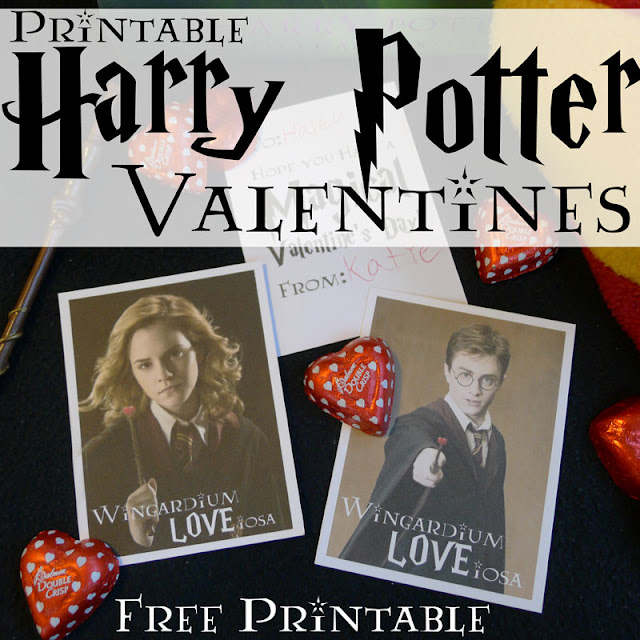
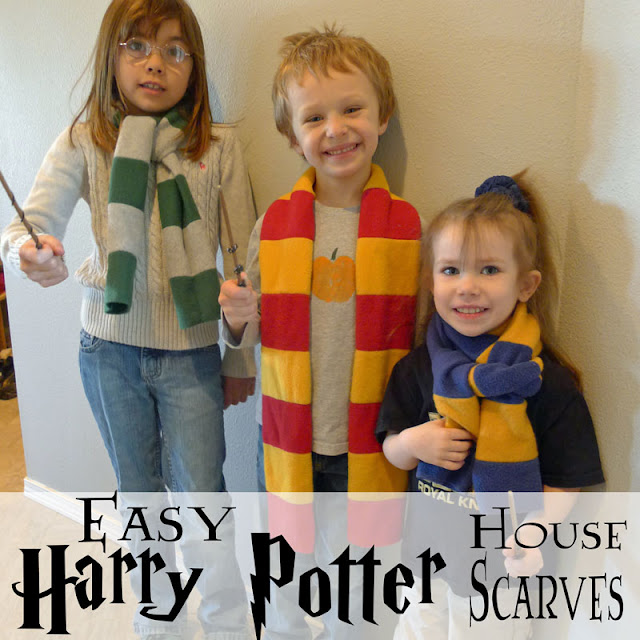
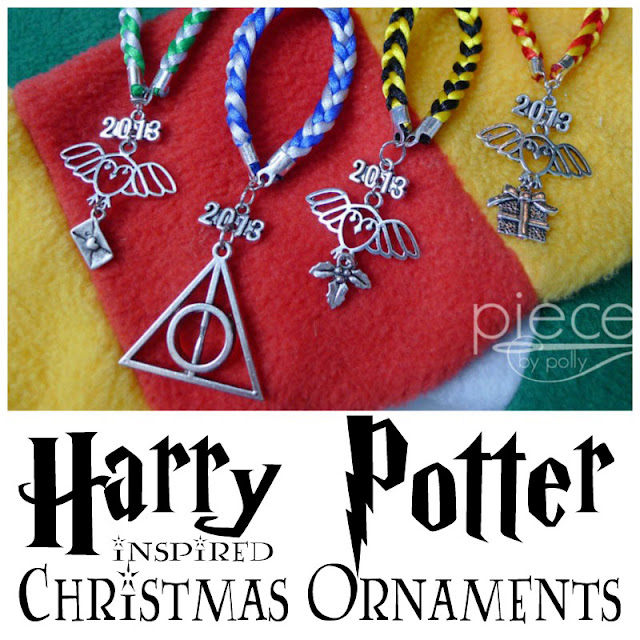
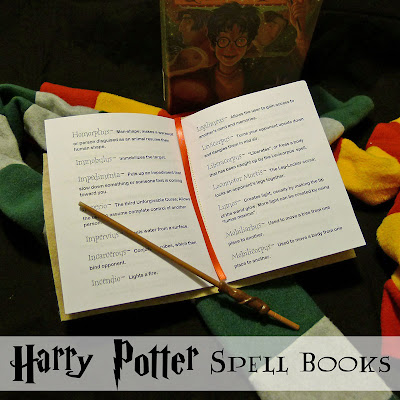
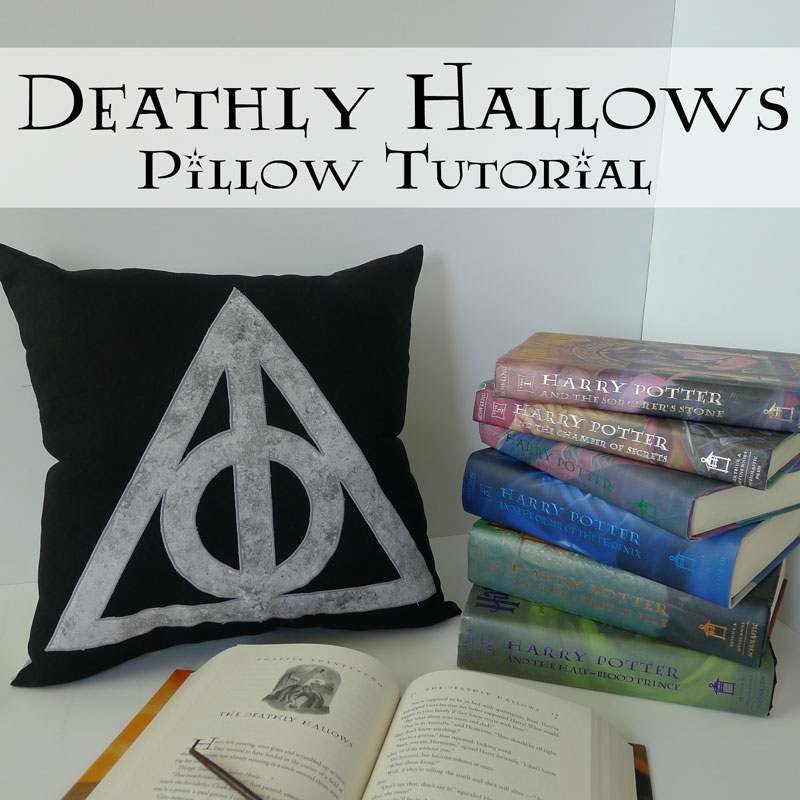
See these links for more details about other Harry Potter themed crafts we've done...and be sure to check back because I'll be adding more as I get them written up.
Please show my sponsors some love...


That's absolutely brilliant! Thanks for sharing!
ReplyDeleteOOh I LOVE the robes! seriously GENIUS! new follower.
ReplyDeleteSisters, Sisters
I've been meaning to stop by and comment on my love for your Harry Potter costumes this year! They are amazing and the simplicity of these robes!!! Fantastic! I just love it!
ReplyDeleteMy daughter is planning a Harry Potter birthday party for her son, and we're hoping to make these as party favors. It's also a great idea of using t-shirts for other robe costumes. Thanks so much!
ReplyDeleteYou're a genius! I love all of your Harry Potter tutorials.
ReplyDeleteI just made one of these last night for my toddler. Super easy, quick, and it looks great. Thanks for making this wonderful tutorial!
ReplyDeleteP.s. I did do one thing differently that might be helpful to others - I knew my wiggly kid wouldn't hold still, so I used a T-shirt that fits him well to mark the sewing lines on the robe, instead.
ReplyDelete