So we decided to go with a cake that Ginny would love since she is such a super quidditch player, and sometimes plays the position of Seeker. We figure this must be similar to the cake the Mrs. Weasley made for Harry's 17th birthday in Harry Potter and the Deathly Hallows. We also made matching golden snitch cupcakes to take to her class at school (although almost none of the kids knew what they were...first grade is a bit early for Harry Potter literacy apparently.)
Becca's always been about the heroines in any book or movie. It's been so fun to see her fall in love with books I love so much...and I think Ginny is a freaking awesome role model...as are most of the women in Harry Potter.
And I'm always excited to do things that help books come alive in a tangible way.
I didn't take step by step pictures for this...but it's really easy to make and you only need a few supplies and one color of frosting.
Supplies:
- Ball shaped baking pan OR an oven-safe bowl and a two-layer pan
- Candy Melts (We used white, but you could also go for yellow or gold.
- Golden Yellow Food Coloring Paste
- Piping bags or good quality ziploc baggies
- 2+ cake mixes and ingredients for cakes according to box
- 1 recipe of buttercream frosting (This is my favorite recipe.)
- Wax Paper
- Birthday candles (optional)
- Start on the wings first, so they have plenty of time to harden. You may even want to make them the night before. For the wings, melt the candy melts on the stove or microwave according to package directions. Draw out the shape of the wings you want on a piece of paper. The wings should be connected in the middle with a piece poking down from the center that you can use to secure the wings in the cake. (This is a picture from the Golden Snitch Cupcakes we made several years ago. The shape for a large cake is the same, only bigger. We also filled our large cakes wings in more to make them stronger.) Put your drawing on top of a cookie sheet and place a piece of wax paper ON TOP of your drawing. Add your melted candy melts into a heavy duty ziploc bag and snip off the corner. Use the ziploc bag to pipe out the candy melts onto the wax paper, using your drawing underneath to serve as a guide. Place in the freezer or other cool place to cool COMPLETELY.
- We used two cake mixes for our cake. If you're going for the whole ball/round snitch instead of the half snitch, then you may need more cake mixes. And yes...we keep things simple around here and nearly always make cake from a box. The kids love it the same as a fancy-schmancy from scratch cake and it simplifies my life. You will also want to make the cake in plenty of time to completely cool, both for the frostings sake, and because you're going to need the cake to support the wings without melting them.
- Ours was one cake mix in a ball pan (which didn't quite fill it) and one cake mix in a double layer pan. You can see from the shape of our cake that the sides are a bit more straight than round. Then we layered the half-ball on top of the round cake and trimmed as needed. You could really go whole-hog and use your ball pan to make two half balls and layer them into a totally round snitch.
- Make up your frosting and add plenty of golden yellow food coloring. I strongly recommend the food coloring paste over traditional food coloring drops because you'll get a stronger color without diluting your frosting consistency.
- Frost your cake as smoothly as possible.
- For adding details, I put the extra frosting into a heavy duty ziploc bag and snipped off a tiny bit of the corner and used that to do my piping. (I even have the real piping bags, but I prefer the ziploc method for most decorating because it's so much easier to clean up.) You will get a more even, polished result if you use a piping bag and small round tip. I tried to make one side look like a "real" snitch and used the other side for the name and birthday year.
- Once your wings are completely cool, carefully peel them off your wax paper and place them on your cake.
- Be careful to keep an eye on it...you don't want it flying away.
- Add candles and make a wish!
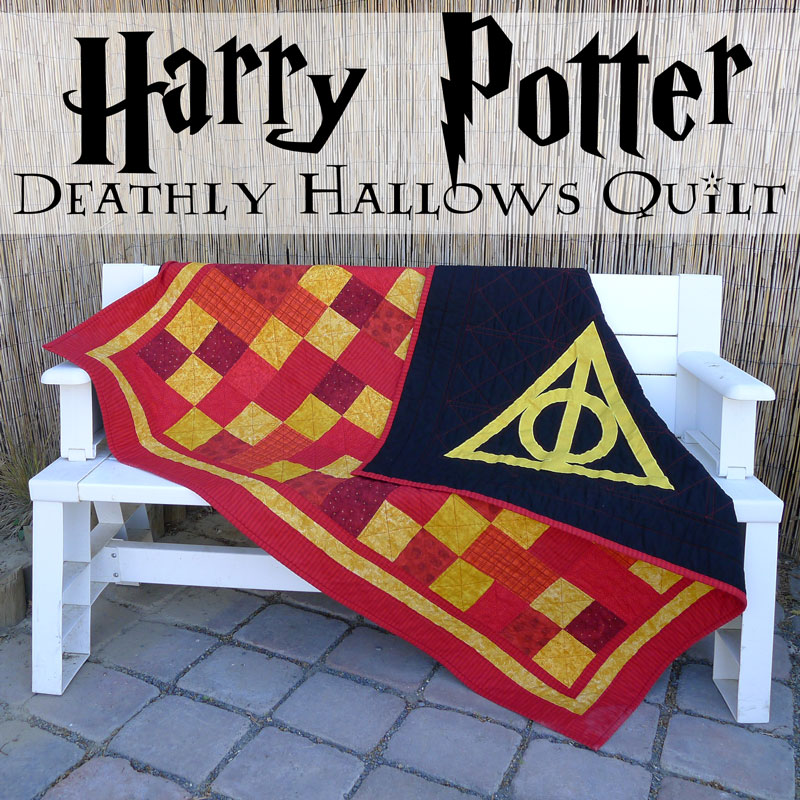
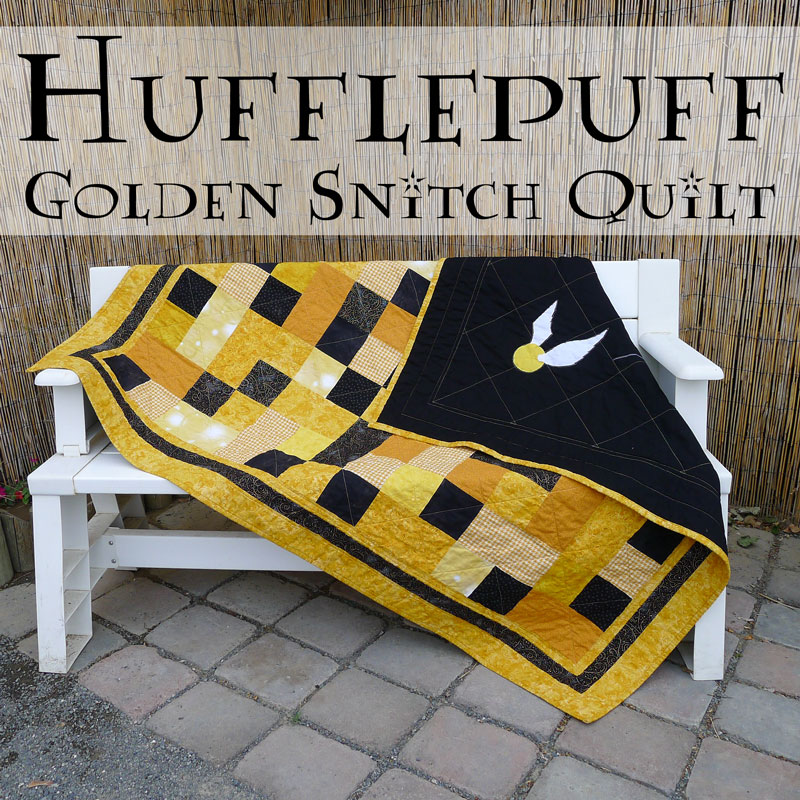
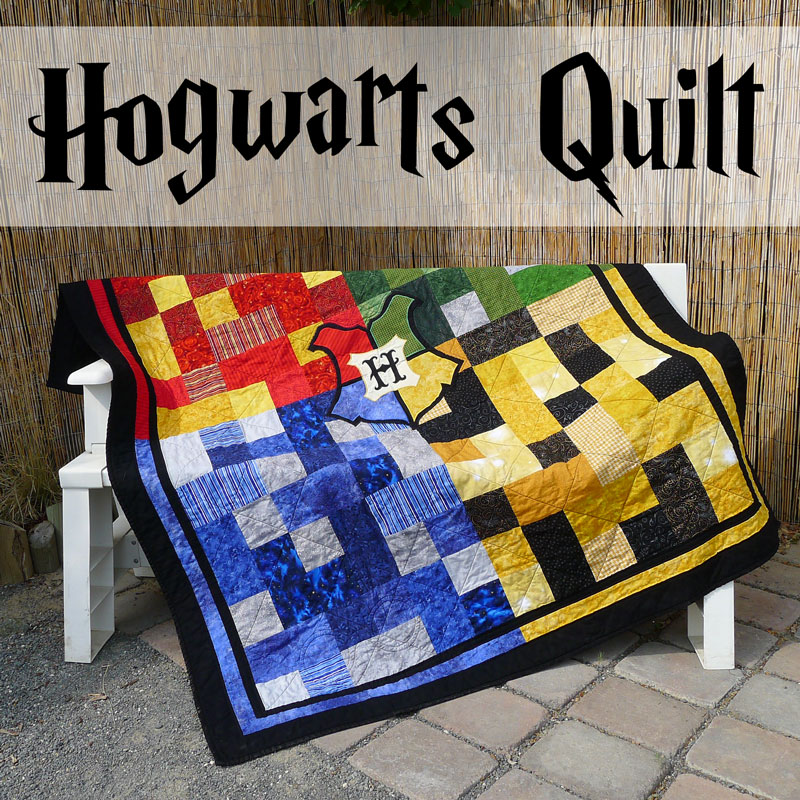
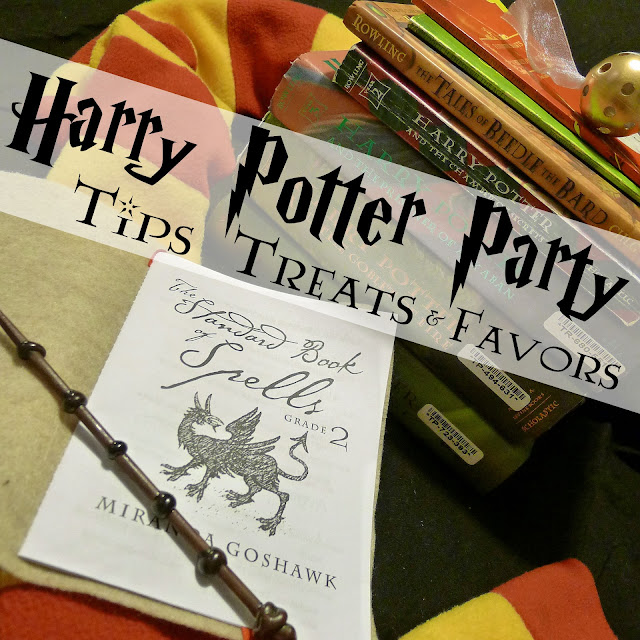
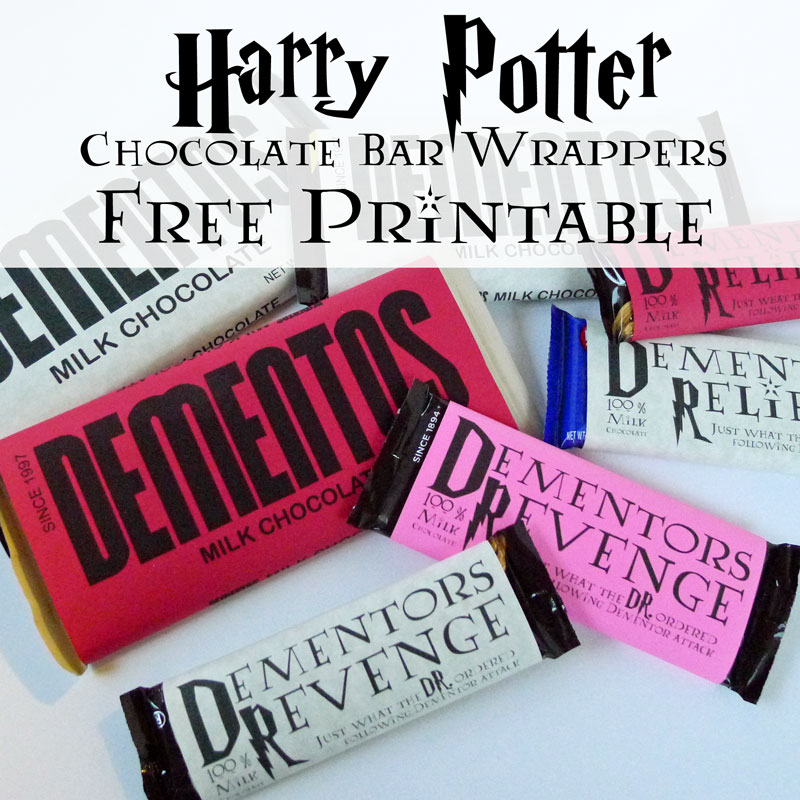
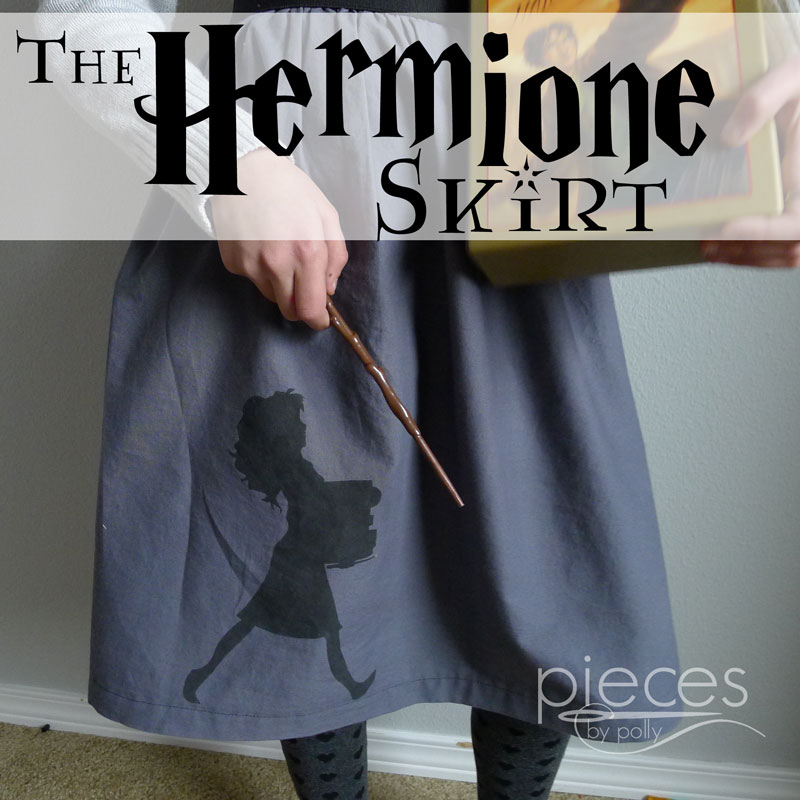
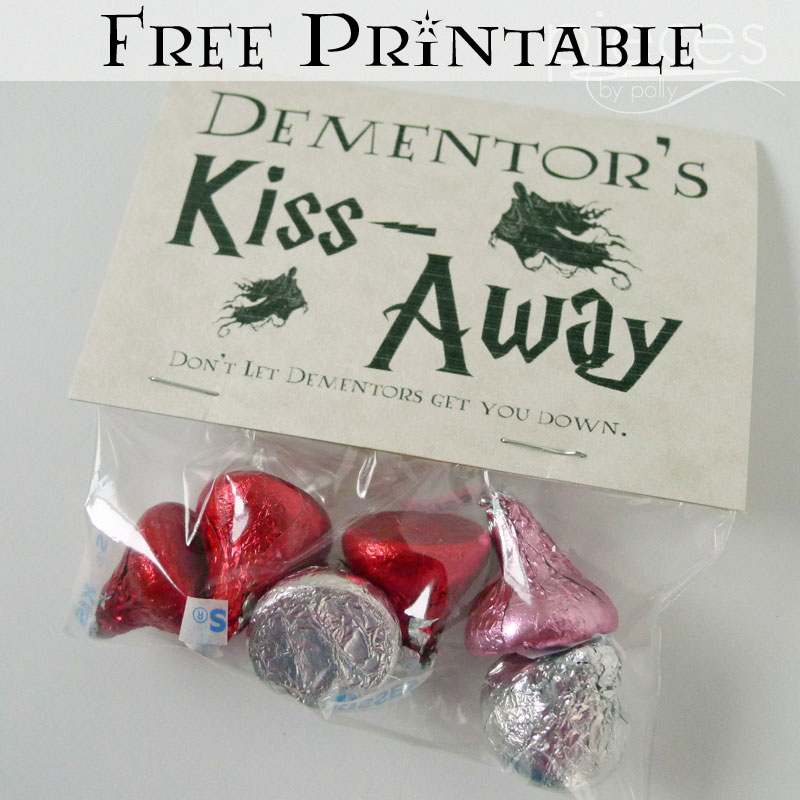
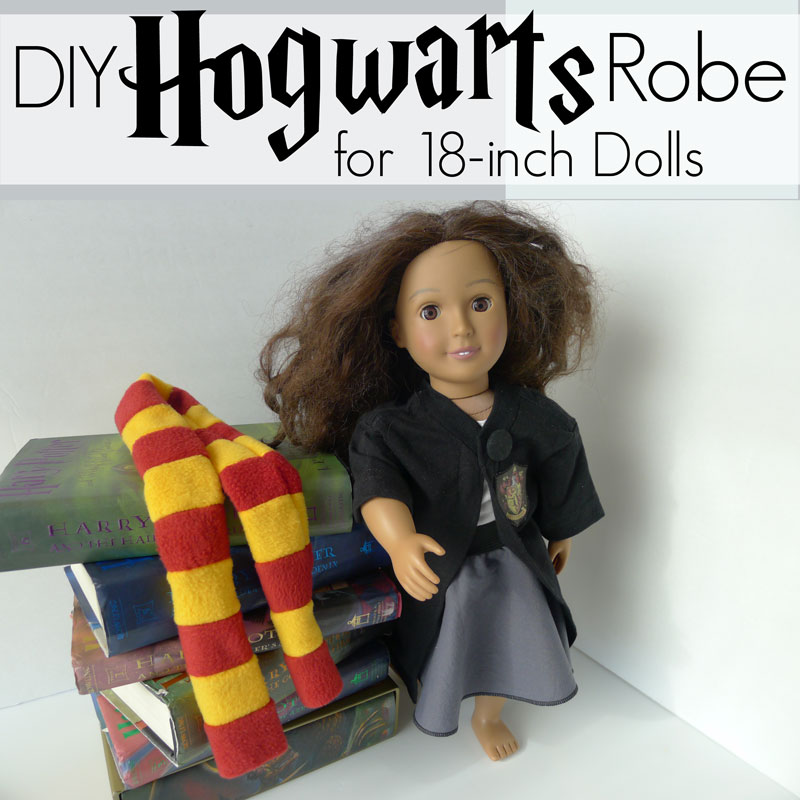
See these links for more details about other Harry Potter themed crafts we've done...and we're always adding more.












No comments:
Post a Comment
Thanks for taking the time to comment. I love hearing from you. I also love responding, so please make sure your Blogger account is set up for me to be able to see your email address or include your email address. I've had to stop accepting anonymous comments due to spam. If you don't have any other way to comment, you can always send an email.