

Any true Harry Potter fan will love this Lumos and Nox Quilt. Since it's a whole cloth quilt, it's pretty simple to put together and a great way to practice your applique skills. The hand embroidery for the Dumbledore quote did take a while, but you could simplify things by leaving that off and you would still have a striking quilt. Thank you to Fairfield for their ongoing support of my creativity by supplying me with the batting for this project and compensating me for this post. All ideas and opinions are 100% my own.

For an extra fun touch, the "white" fabrics are actually glow-in-the-dark using Michael Miller's Glow-in-the-Dark Fairy Frost fabric.

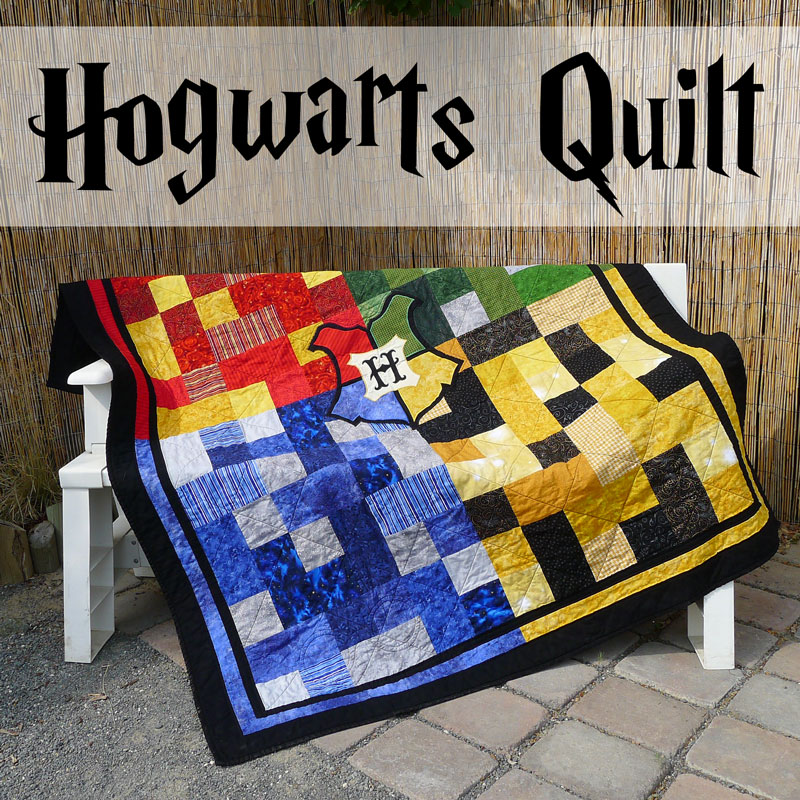
I recently started participating in some Instagram swaps. (Be careful! They're addicting!) This quilt was a gift for my swap partner in the #HogwartsSwap2015. I make so many Hogwarts Crest Quilts for my Pieces by Polly Quilts Shop, that it was a fun excuse to branch out design a new quilt.

Here's what you'll need to make your own:
2 1/2 yards Kona Cotton in Black
2 yards Michael Miller's Glow-in-the-Dark Fairy Frost fabric or Kona Cotton in Bone
1 package Noire Cotton Blend 45″ X 60″ batting
1 pack paper-backed fusible web
White embroidery thread
Black embroidery thread
Black and white sewing thread
Glow-in-the-Dark Thread (optional)
Pen or pencil for fabric marking that washes out.
Quilting Ruler helpful but not required
1 copy of the LUMOS/NOX Quilt Template downloaded from here.
1 copy of the Wand Template
Basting Spray (optional)
Instructions:
Start by cutting both of your fabrics 60-inches long, so you've got 2 pieces approximately 42x60 inches. You'll need the extra you cut off for your appliques.
Cut 5-3" strips the width of your fabric from the black Kona for the binding of your quilt and set aside.
Start by marking your embroidery lines and marking your quote letters. You'll want to use a pencil or pen designed to come out. (I made the mistake of using a regular pencil for this part and and a hard time washing it out of the white side. It came off the black side fine.) I made my uppercase letters 1 1/2 inches tall and the lower case letters 1-inch tall, and used double lines for the thicker parts of the letters. Use the text in the printable template as a guide for shaping the letters. Since the first part of the quote talks about darkness, I put, "Happiness can be found even in the darkest of times..." on the black side and put them near the top of the quilt.
Keep in mind when you're choosing spacing that Kona Cotton solids are usually 1-2 inches wider then most other brands of fabric (including the Glow-in-the-Dark Fairy Frost), so you'll want to leave some extra space on the edges of the black.

Then I put "...If only one remembers to turn on the light." Near the bottom on the back.


Go over the lettering with black and white embroidery thread. (I used the glow-in-the-dark machine embroidery thread for this and it was a HUGE pain since I had to use several strands, but the glow-in-the-dark strands don't hold together the way regular embroidery thread does. It's really hard to work with and it didn't glow in the dark all that well, so I would recommend using regular white embroidery thread.) For best results use and embroidery hoop.


Trace the LUMOS and NOX lettering from the printable template onto the papery side of your paper-backed fusible web. The letters will appear backward when you do this.

Cut out your lettering and iron onto the BACK side of your fabric. (Your black fabric won't have a front or back, but your glow-in-the-dark will.) I chose to do LUMOS in black and put it on the glow-in-the-dark side and do NOX in white and put it on the black side. You could easily switch them up if you want.

Cut out your lettering from the fabric.

Peel off the paper backing.

Arrange the appliques onto your quilt. I did the NOX and LUMOS letters just above and below the embroidered letters. I didn't want the quilting around the the letters to interfere with the embroidery, but I wanted to leave the center of the quilt free for quilting the lighted wand.

Once you're happy with the placement, iron the lettering securely onto your quilt.
Use a tight zigzag or satin stitch around the edge of the lettering. I used glow-in-the-dark thread to go around the NOX lettering and it works really well here. Since the stitching is so thick, the glow-in-the-dark shows up better.
Layer your the two sides of your quilt with your batting. I chose Noire Cotton Blend because the back was black. You don't notice the dark batting behind the white side of the quilt, and it keeps any loose threads from showing through. I prefer to baste with basting spray, but you can use any method of basting you prefer.

Use a fabric marking pen to draw the wand shape into some of the open space on the white side of the quilt. (I was just introduced to Frixion erasable pens that erase with a hot iron. I am IN LOVE with them. I've hard you'll also want to wash your work because the lines can come back when it gets cold. I'm still experimenting with them, but they worked amazing for marking my quilting lines.) I preferred to have mine slightly off center. Keep in mind, that when your quilt is finished your wand will show most clearly on the BLACK side of the quilt and it will appear reversed from how it looks on the white side where you're making it.

Using a quilting ruler or straight-edge, mark rays that cross right at the wand tip. You'll want to vary the distance between them, so that some are thin and some are thick.

When you go to do your quilting, start by quilting around your lettering. I didn't want these lines to show much on the opposite side of the quilt, so when going around the NOX, I used a white bobbin thread and black top thread. When quilting around the LUMOS, I used black bobbin thread and white top thread. Leave your thread tails long and knot and hide them inside the quilt.

When I quilted the wand, I used white thread in both the bobbin and the top thread. Stitch around the wand, and then move onto the light lines. Don't do any rays of light just behind the wand where the light would be shadowed by the wand and hand holding it.

I knew I wanted to leave breaks so the quilting didn't go through the embroidery, so I also left breaks throughout the lines, so the embroidery breaks wouldn't stand out. Again , leave your thread tails long and knot and hide them inside the quilt.
Trim and square your quilt if necessary. Add the binding to your quilt. Sew three of your binding strips together end-to-end to make one long strip. Iron all of your binding strips in half with the RIGHT SIDES facing OUT. Keeping your really long strip folded in half, line the raw edges up with the raw edges of your quilt on the two long sides. Stitch to your quilt with approximately 3/8 inch seam allowance. Fold the binding around to the back. Pin. Stitch in the ditch to secure the binding in place. Repeat on the top and bottom sides of your quilt using your other two binding strips.

I don't currently have these quilts listed in my shop, but I plan to start making and selling a simplified version, so if you're interested please contact me.
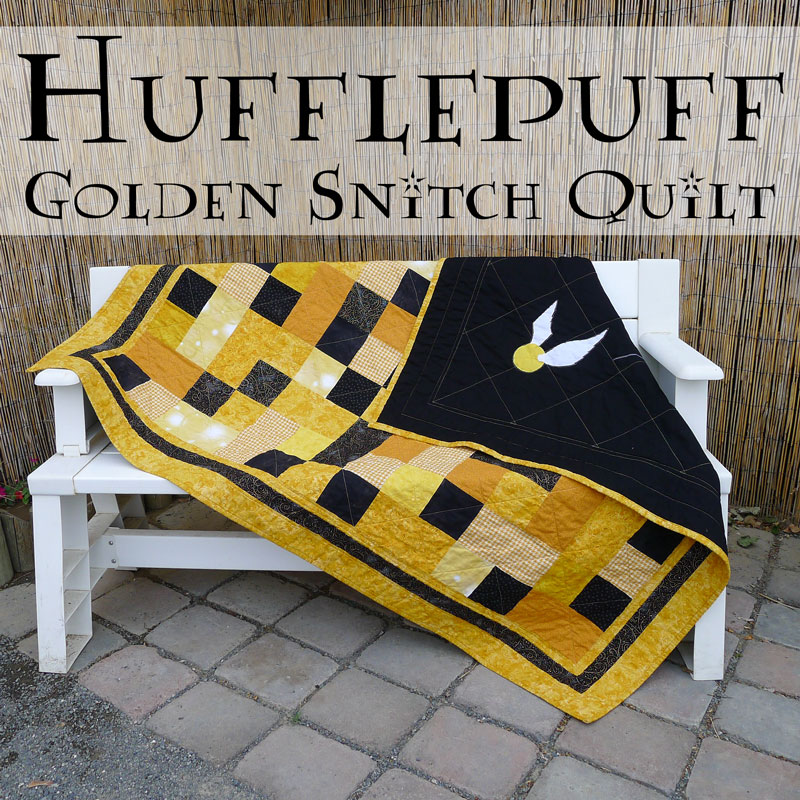
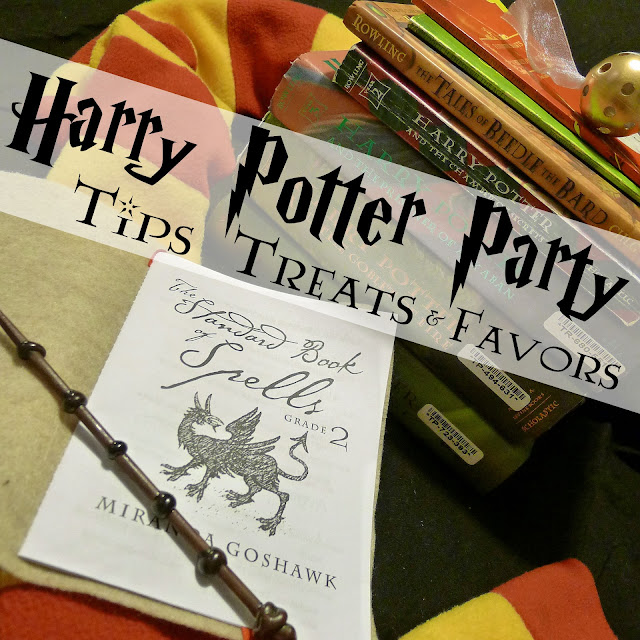
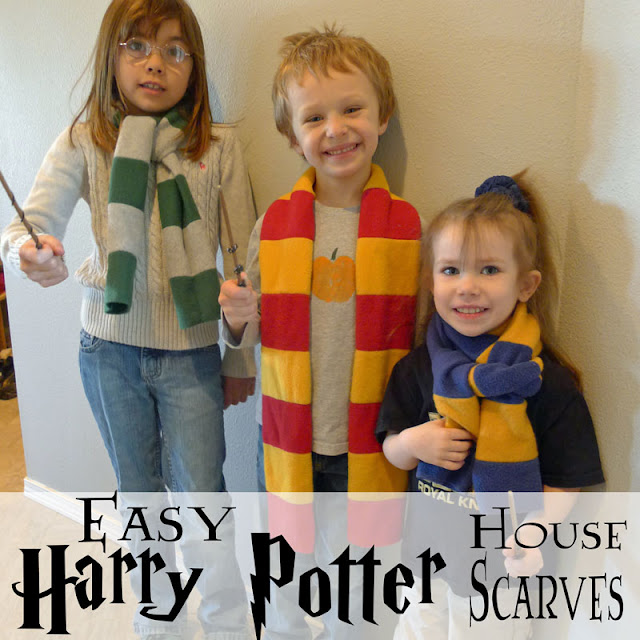
And if you love all things Harry Potter, be sure to check out the Harry Potter Page on my blog with links over 30 DIY Harry Potter Tutorials and Projects.


Hello Polly :) I'm thinking about a diagonal drawing half nox half lumos so both would be at the top side of the blanquet. That way I could enjoy both designs at once and the bottom side could be some gray color so I could put it on grass and I would't mind if it gets spotted green. I hope you'll understand my (very bad) English :'(
ReplyDeleteXOX from Argentina