

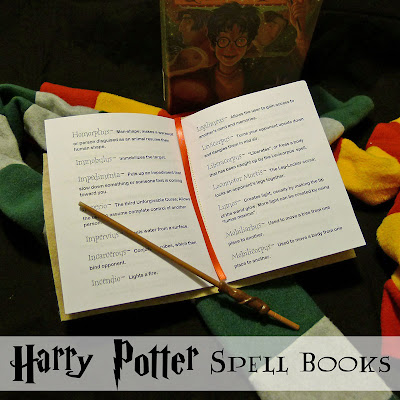
I've had several Harry Potter themed projects finished for a while, so this was good motivation to get them written up. I'd also like to extend a big thank you to Fairfield World for supporting my creativity and supplying me with the Poly-Fil® and Smooth Fusible Fleece Interfacing for this project and compensating me for this post. All ideas and opinions are my own.
I recently discovered the world of Instragram craft swaps, and I made these as a gift for my first swap partner in the #nerdscraftitbetterswap. My swap partner was a Slytherin who loved Snape's character. I've always been rather fascinated with Snape. He's just so unlikable and at the same time he's probably the most complex character in the Harry Potter series, and I can't help but feel supremely sorry for him. He could have been such a great man, and because of his early decisions, he spent most of his life unhappy.

Anyway, with all the Harry Potter things I make, it's not often I get to make something for a Slytherin, so this pillow was a lot of fun to make. You could make it in any house colors and it would be a fun pillow.


Materials for One Pillow:
- 4 - 4 1/2" squares from various green quilting fabric scraps
- 4 - 4 1/2" squares from various grey/silver quilting fabric scraps
- 4 - 4 1/2" x 8 1/2" rectangles from various green quilting fabric scraps
- 1 fat eighth light grey/silver or white quilting fabric for appliques
- 1 package paper-backed fusible web. (You'll have lots left over.)
- 1 fat quarter (or 1/2 yard) of black fabric for backing
- 15 1/2" square piece of Smooth Fusible Fleece Interfacing
- Grey/silver thread to match appliques
- 1 bag Poly-Fil® Premium Fiber Fill
- 1 Printed copy of the Always Doe Applique Template
Directions:
Sew your green and grey scraps together into blocks with 1 green squares, 1 grey square, and 1 green rectangle in each block. Use a 1/4 inch seam allowance. Then sew them into a large square.

Start with tracing your applique design onto your paper-backed fusible web. You can get the printable template here.

Notice that the letters look backward because using fusible web this way leads to a reverse image.

Iron your fusible web onto the BACK of your silver grey fabric.

Cut out your appliques.

Peel off the paper backing.

Arrange onto your pillow front. Make sure all parts of your applique pieces are AT LEAST 2 inches from any of the edges. Otherwise they will end up more on the sides of your pillow than on the front.

Use a ruler to be sure that the letters in ALWAYS are straight.

Iron carefully according to manufacturer's instructions for the paper-backed fusible web. Be sure all edges are well sealed without over-ironing.

Cut 15 1/2" piece of Smooth Fusible Fleece Interfacing. Apply to the back of your pillow top. This will give your pillow a quilted look and also keep your design from bunching when you sew your applique.

Using a satin stitch or tight zigzag stitch on your sewing machine, stitch around all edges of your appliques. You want the stitch length set just above 0. Do NOT backstitch and leave your thread tails long.

Pull your threads through to the back and tie a secure knot.

And you're done with the front of your pillow. Your square should be approximately 16 1/2" on each side.

Cut a piece of backing fabric the same size...a 16 1/2 inch square. I prefer to use Kona Cotton in Black.

Layer your front and back pieces with RIGHT SIDES TOGETHER and pin.

Stitch around the edges with a 1/2" seam allowance, leaving an opening through which you can stuff your pillow.

Turn right side out, being sure corners are pointy. Stuff with plenty of Poly-Fil® and stitch closed.

And you're done.
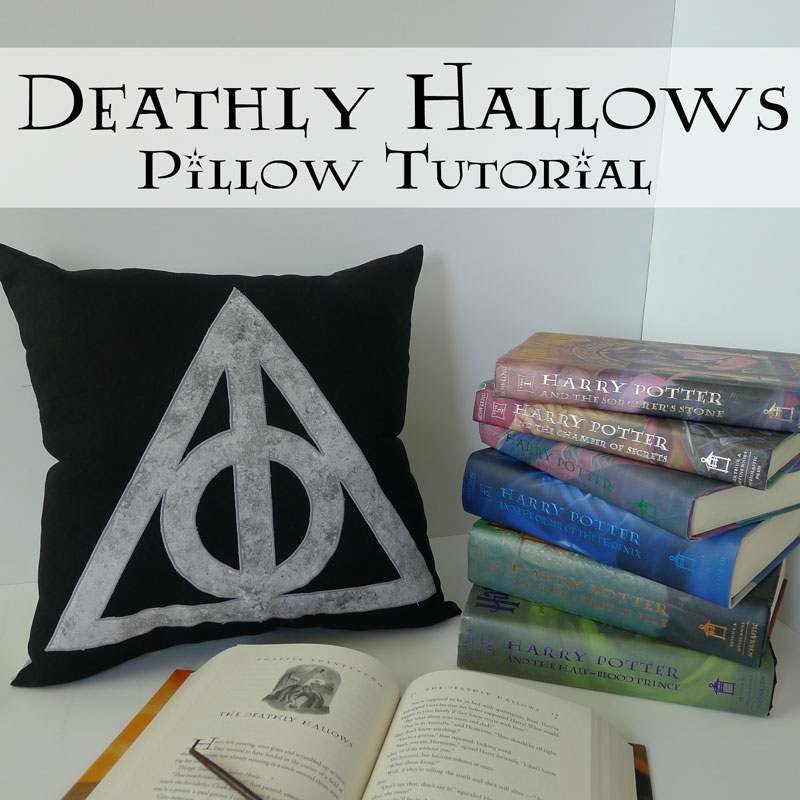
And be sure you head over to the Fairfield World for the template for the Deathly Hallows pillow.
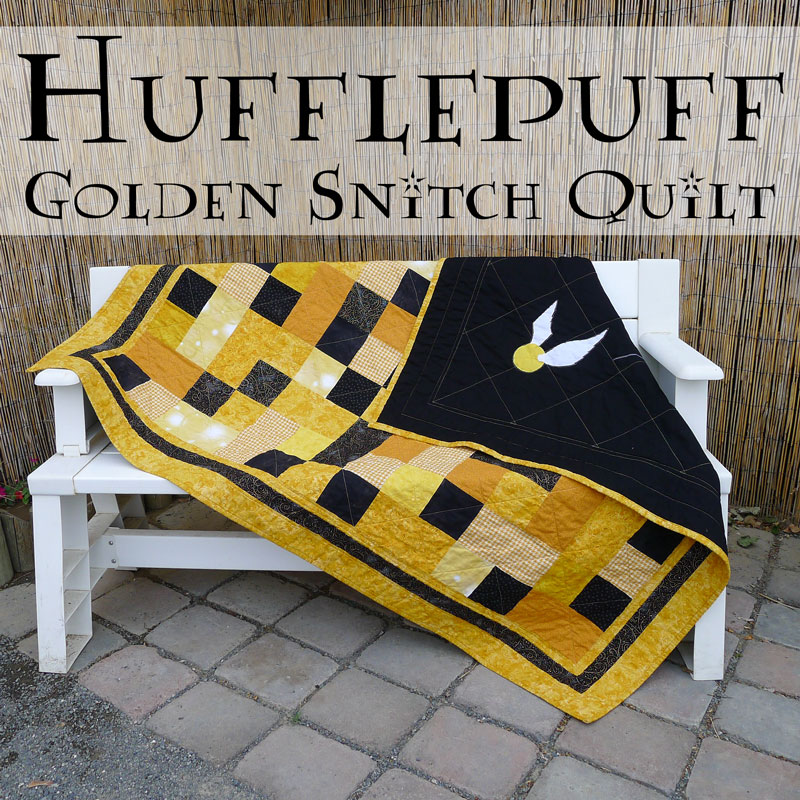
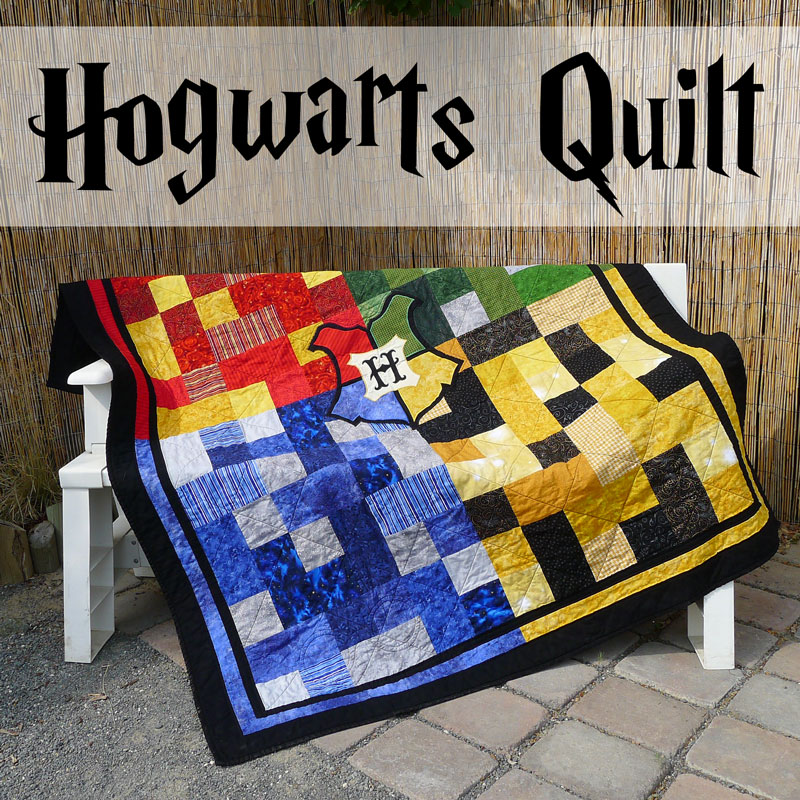
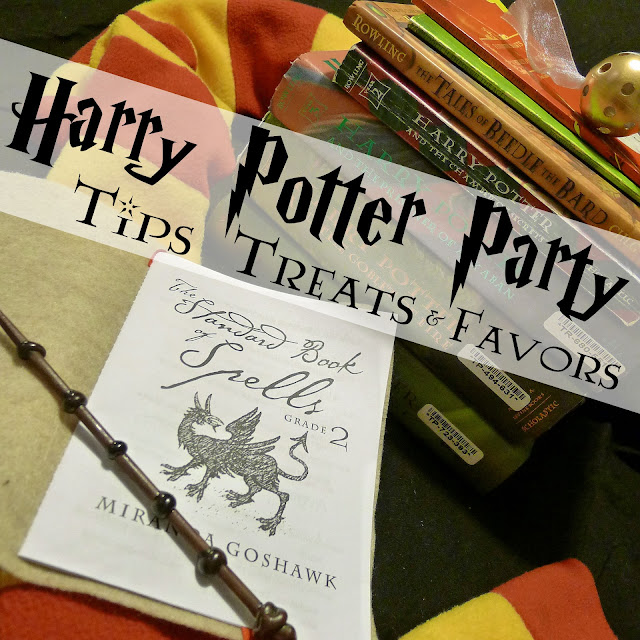
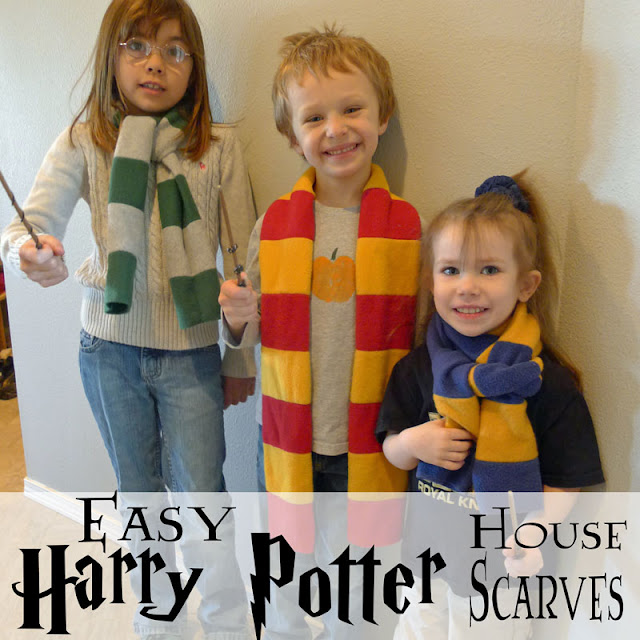
Long time readers know our family loves Harry Potter anytime of year here, so if you're a new visitor, you'll want to be sure to check out my Harry Potter page with links to all of my Harry Potter DIY projects.


No comments:
Post a Comment
Thanks for taking the time to comment. I love hearing from you. I also love responding, so please make sure your Blogger account is set up for me to be able to see your email address or include your email address. I've had to stop accepting anonymous comments due to spam. If you don't have any other way to comment, you can always send an email.