Most puff quilts require making lots of tedious separate puff pockets and then sewing them all together, but NOT THIS ONE!! You will LOVE how simple this is. You sew the whole thing the way you normally would and then we'll add some extra stuffing when we get to the quilting step.
They're the perfect size to work well with my new Doll Tent Tutorial on the Shannon Fabrics website.
And great for summer time doll picnics.
I love the look so much, I think I'm going to need to make some puff pillows for the real people in our house next.
Be sure to check out all the links at the bottom of this post for additional coordinating doll tutorials and accessories.
Difficulty: Beginner
Time: 1-2 Hours
Materials:
- 20 - 6" Coordinating Cuddle Scrap Squares (I'm using scraps from the Doll Luggage Project. Fabrics include Paris Cuddle® Hot Pink, Bubble Dot Cuddle® in Lilac/Hot Pink, Ziggy Soft Cuddle® Snow, Embossed Star Cuddle® Fuchsia, Embossed Heart Cuddle® Lilac and Lattice Soft Cuddle® Jewel.)
- 22" x 27" Cuddle Fabric for backing (I used Tweet Tweet Cuddle® and Cuddle® Fleece Fuchsia
- 1/8 yard Cuddle Fabric for binding (I used Flowerfly Cuddle® Paris Pink, and Premier Menagerie Cuddle® Indigo
- 22" x 27" Nature-Fil™ Bamboo Blend Batting
- Poly-Fil Supreme® Ultra Plush Fiber Fill 12 Ounce Bag
- Sewing Machine, thread, and related suppiles
- Rotary Cutting Mat, Ruler, and Blade (strongly recommended) or scissors
- Pins
- Basting Spray (optional)
- Have your vacuum or hand-vac on hand for vacuuming up all that cuddle fuzz that goes flying when you cut cuddle fabrics.
Cut your cuddle scraps into 6" squares. You'll need 20 squares for each doll quilt. Don't worry about mixing and matching different textures. The variety makes the quilts more fun. (Can I just say that I love that Shannon Fabrics coodinates colors across their fabric collections...makes their scraps match so beautifully.)
Arrange your squares. Mine are pretty random because could had a few squares of some colors and it wasn't enough to make a pattern. Snap a picture to help you remember the order.
Sew your squares together using a 1/2 inch seam allowance the way you would for any other quilt. When you're sewing with cuddle it's super helpful to pin your pieces well and/or use a walking foot to help feed fabrics evening through your machine.
Now we're going to layer our quilt with our batting. I prefer to use basting spray, especially with cuddle fabrics. Basting spray helps hold it all in place and even the back of the cuddle fabric is slippery. (I do my basting spray on the floor because it's easy to mop after. You may use someone to protect your floor depending on your finish.)
You should have your top, batting, and cuddle backing. Trim the backing and batting even with the top.
Now we're going to start our quilting by stitching in the ditch BUT WE'RE ONLY GOING TO DO CERTAIN LINES.
Stitch all the vertical lines, including the edges, but ONLY SEW ONE horizontal line.
Stuff one handful of polyfil into each square on both sides of your horizontal line.
At this point, you should have two rows filled...one on each side of your line.
Stitch in the ditch to close off the row of squares you just filled. Fill the next row. Repeat.
When you get to the last row, you'll need to sew along the edge to close up your pockets.
Now it's time to do the binding. Cut your binding fabric into 2" strips. Sew your binding with RIGHT SIDES together onto the top of your quilt with a 3/8 seam allowance. Normally when you sew binding, you need to be careful not to stretch the binding fabric, but because the puffs actually scrunch the quilt up a bit, I STRETCHED THE BINDING SLIGHTLY ON PURPOSE so it would scrunch up with the rest of the quilt.
Then bring your binding around to the back of the quilt, fold raw edge under. Pin well and sew in the ditch from the front. (For more cuddle binding tips see the Shannon Fabrics website here.)
And your doll is ready to be put to bed. (The mattress shown in this picture is actually the base to my doll tent. you can see how to make your own on the Shannon Fabrics website.)
Or if she's not tired maybe she'd rather head to the woods...
+
or out for a picnic...
You can find Shannon Fabrics at many local quilt shops and fabric stores, and online at fabric.com, theminkyboutique.com, and fabricdepot.com. You can also use their Store Locator to find shops near you: Store Locator.
And if you've been bit by the DIY Doll Bug, you'll want to check out all of my tutorials for making fun doll accessories.
Easy DIY Doll Tent  | Reversible Doll Sleeping Bags  | |
Easy Doll Hanging Garment Bag  | Super Easy Doll Puff Quilt | |
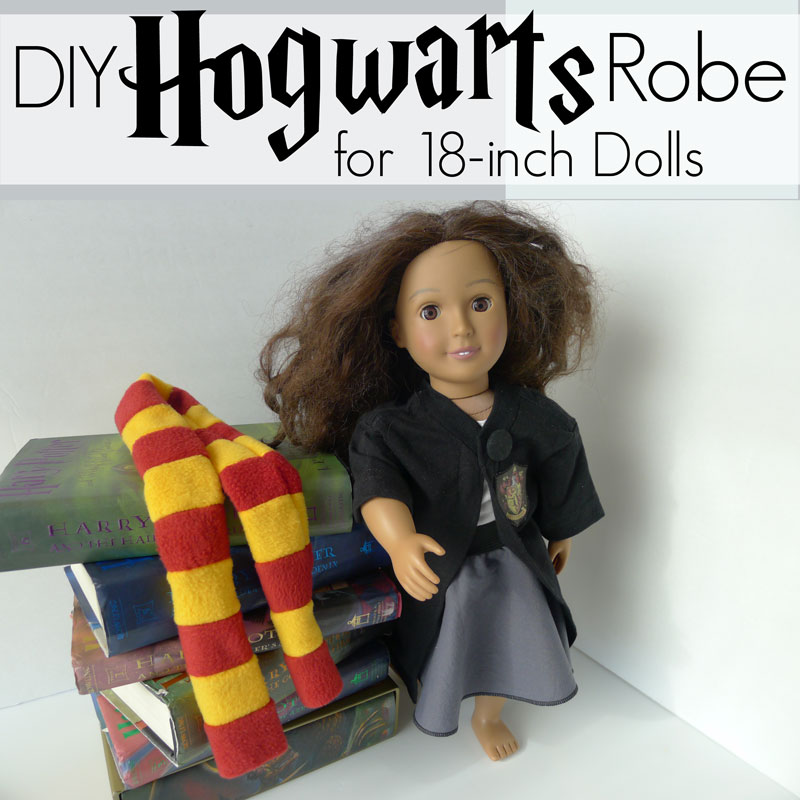
DIY Hogwarts Robe for 18-inch Doll  |


We love this puff quilt idea!
ReplyDelete!!!!
ReplyDelete